Patio Black Spot Remover – We have a lovely York stone patio that just doesn’t look its best anymore. It’s gone quite dark, and pressure washing has not quite brought it back to its former glory. When I was contacted to ask if I would like to review Patio Black Spot Removal, at first I was sceptical. For a start it isn’t cheap at £70 for five litres but if I could have been sure it definitely worked then actually I wouldn’t have quibbled at the price. I pored over all the before and afters as they are so impressive, desperately trying to see if they were in some way photoshopped. Why are before and afters so compelling? Anyway, the instructions say to use a spray and spray the patio stones first from side to side and then up and down.
For the purposes of this review I wanted to be a little more accurate so I applied it with a paint brush. (Tip: don’t do this with a paintbrush you would like to use again!!).
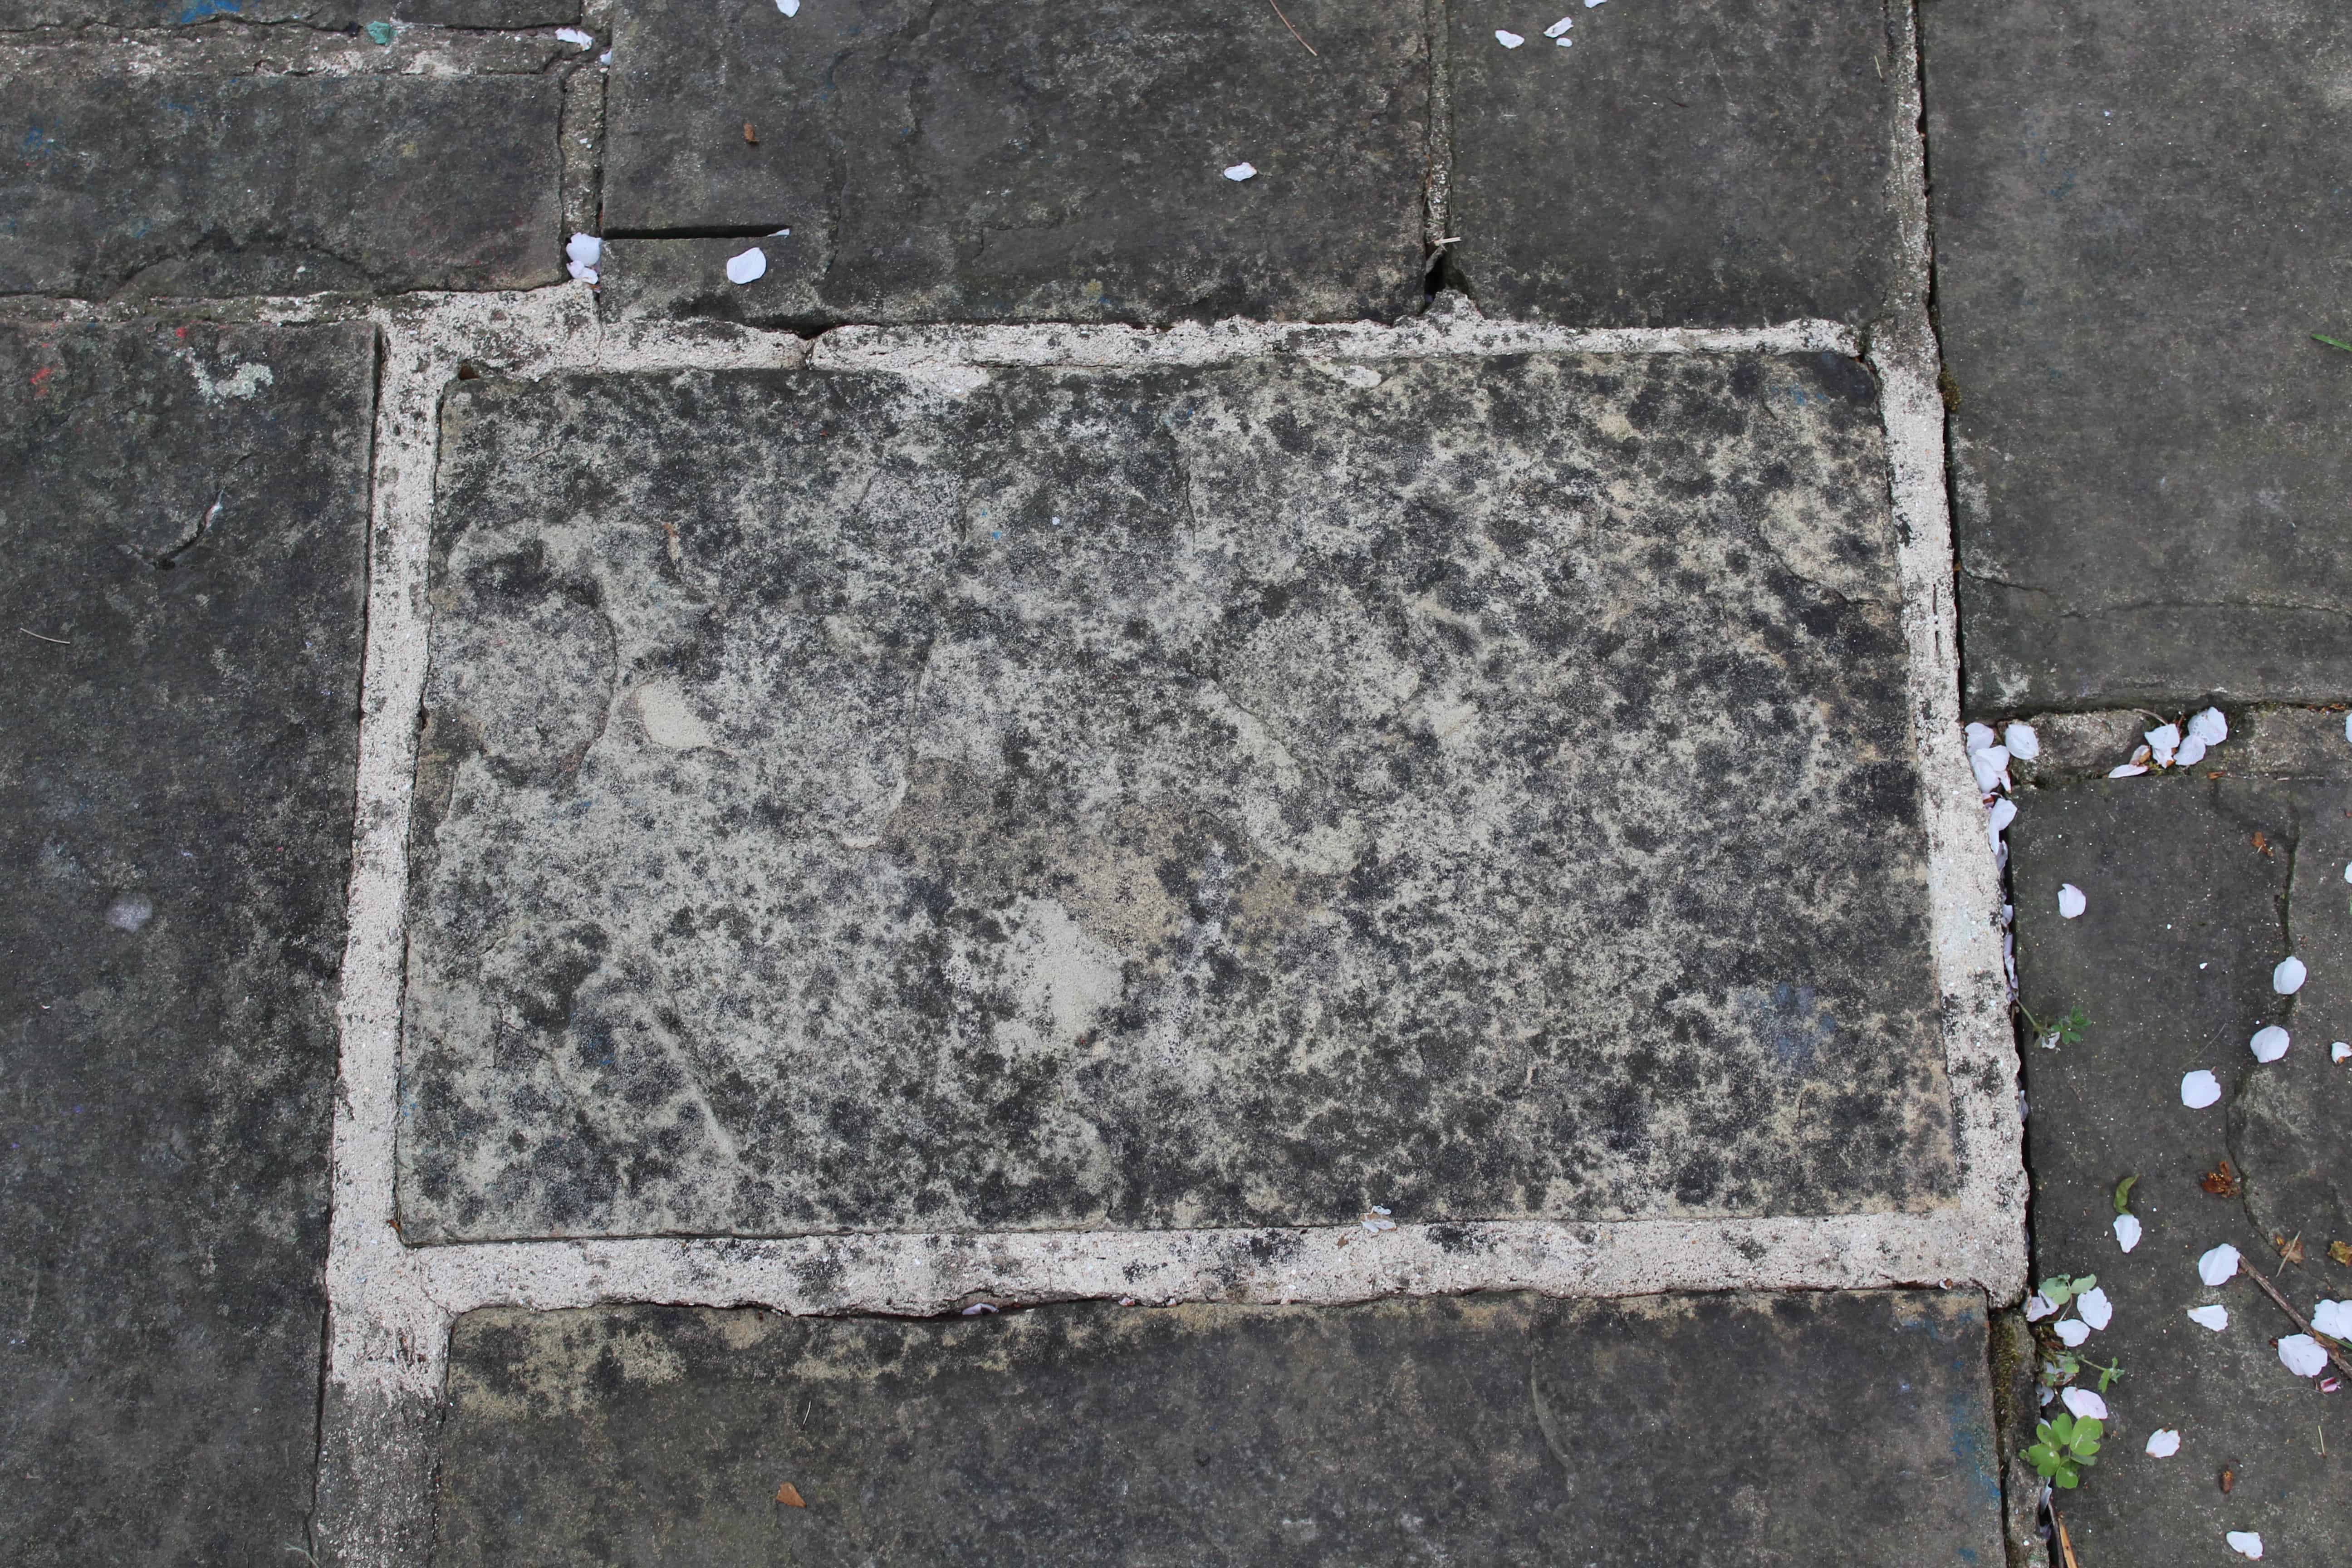
So, I tried the black spot on two different stones. The first one I had already cleaned with a pressure washer, you can see the stone is already cleaner than those around it, but you can also clearly see the ‘black spots’.
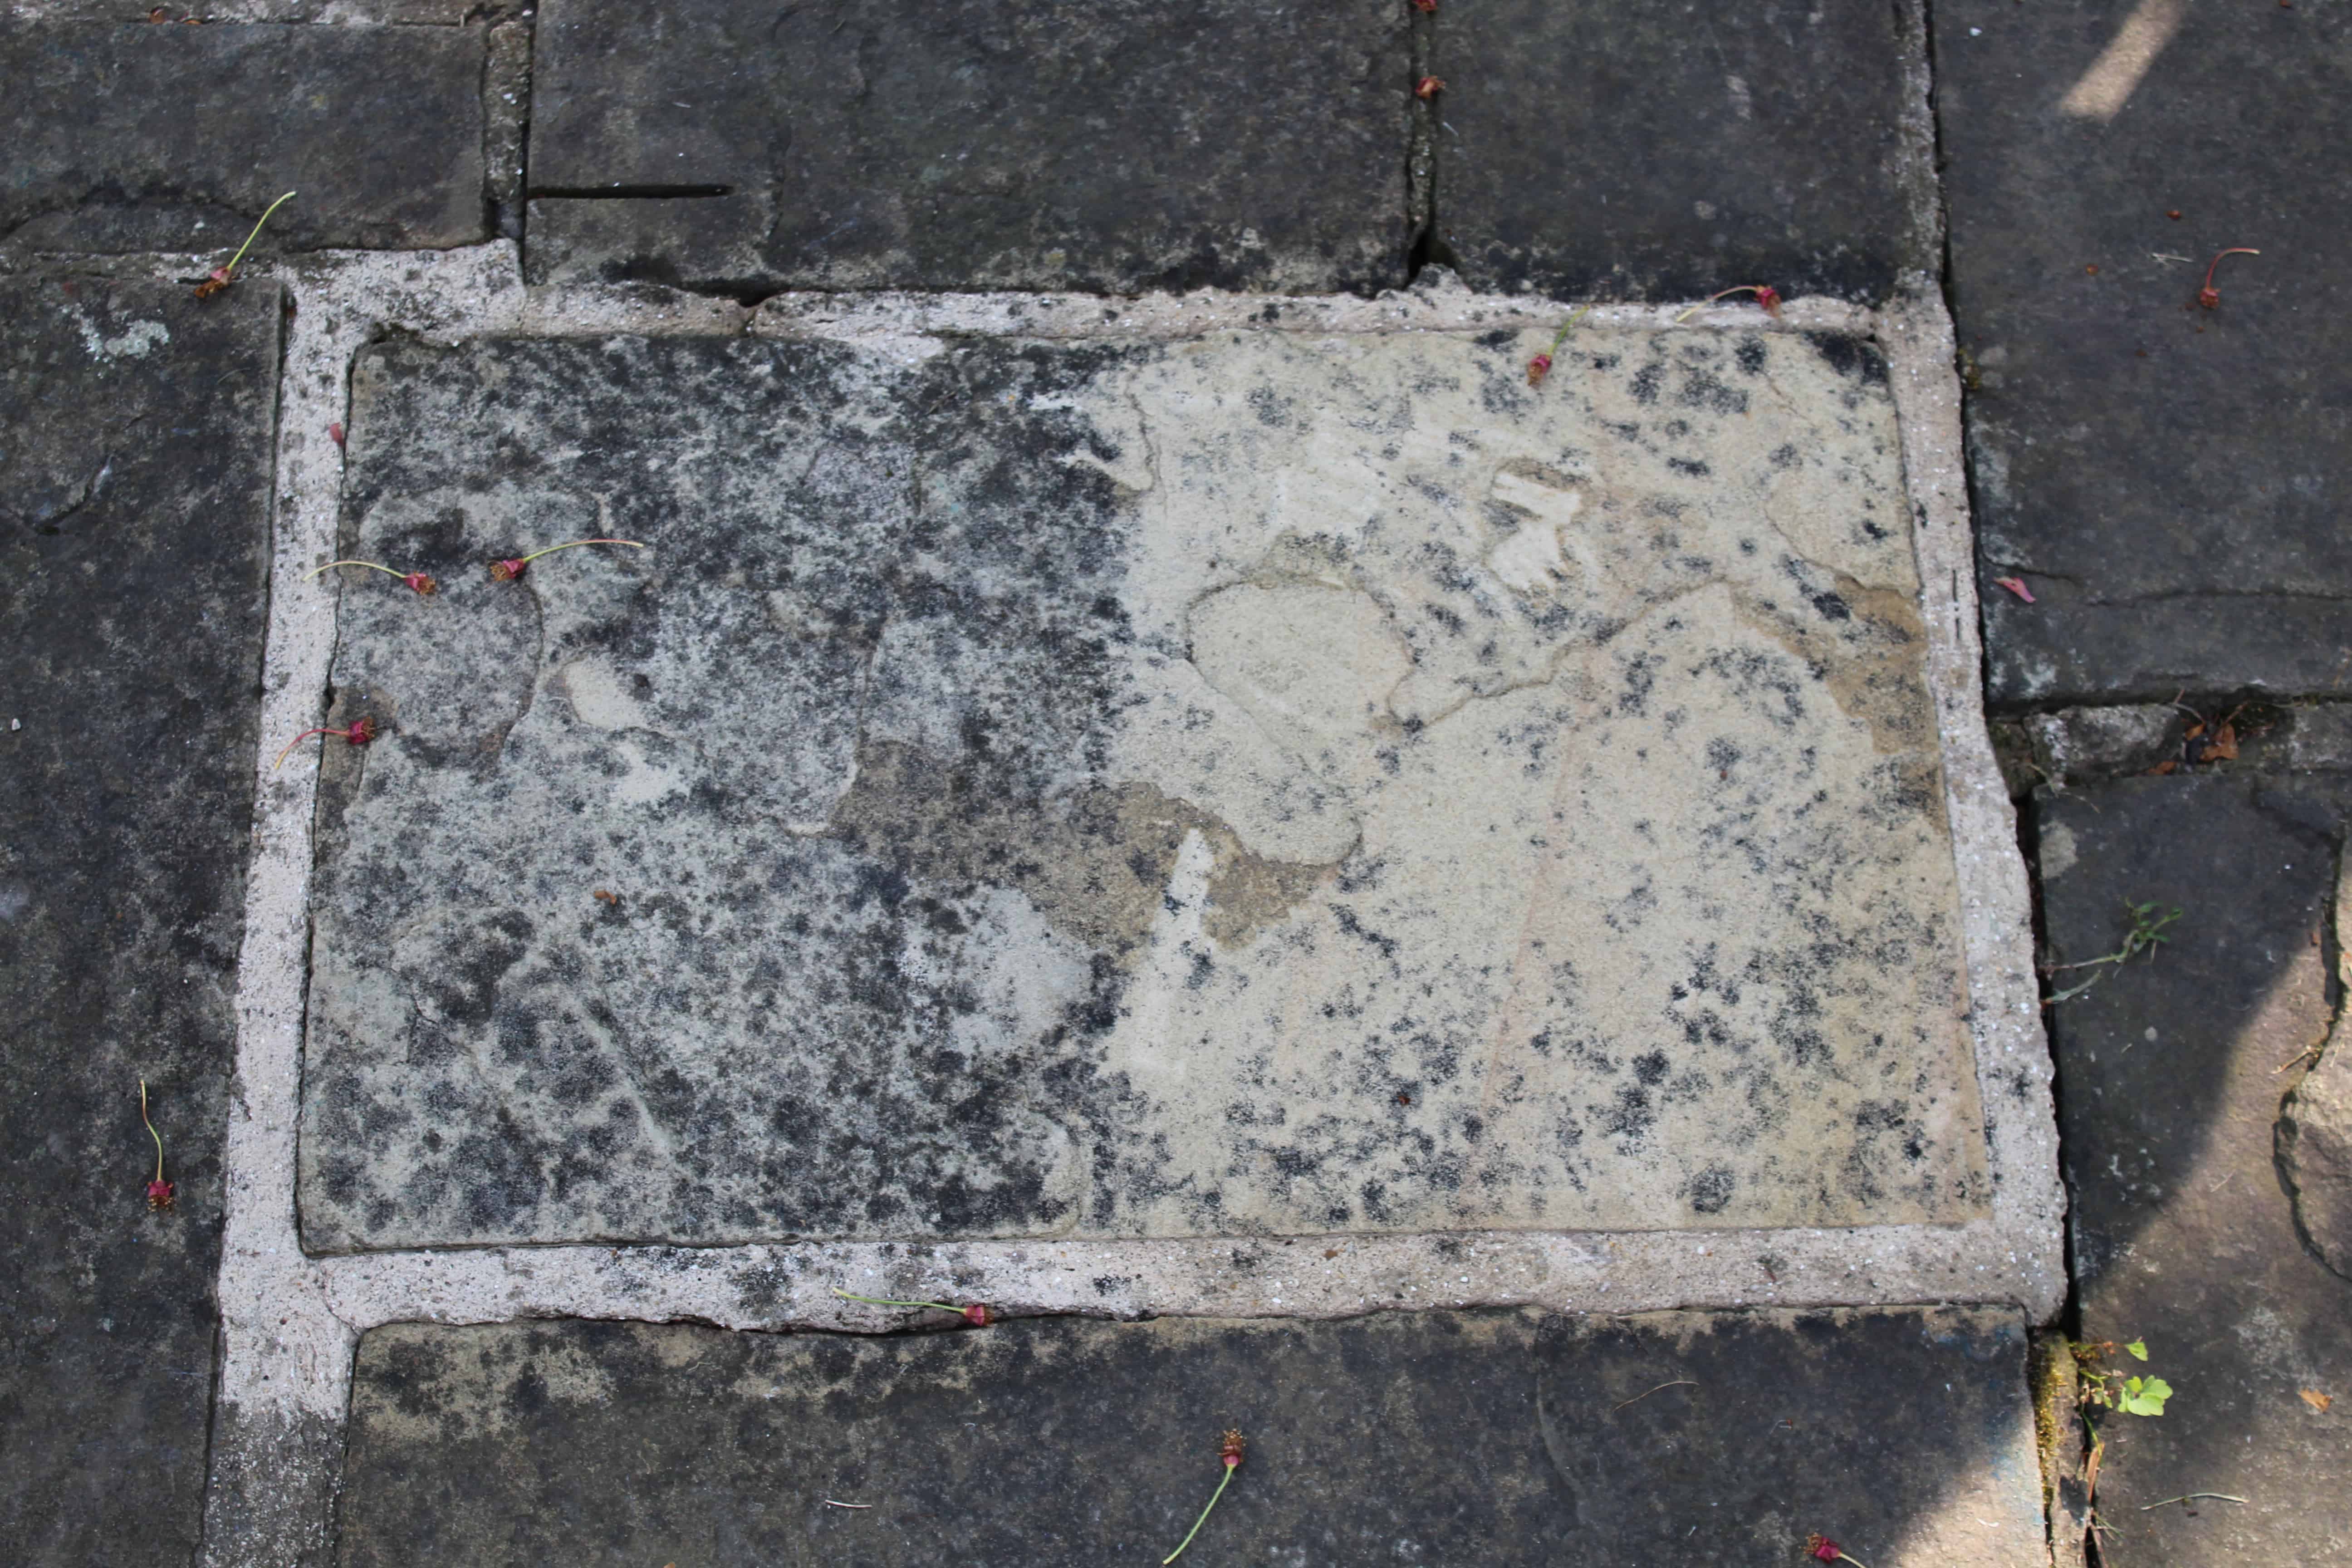
Once the treatment is dried it goes white. It smells like a cross between chlorine and bleach. As an experiment I tried another stone with neat bleach. Don’t bother – it didn’t do anything! Here is my after photo. You can clearly see the difference and I was super impressed (and looking back over these photos as I write now – the right hand side was the worst – scroll back up and you’ll see what I mean!)
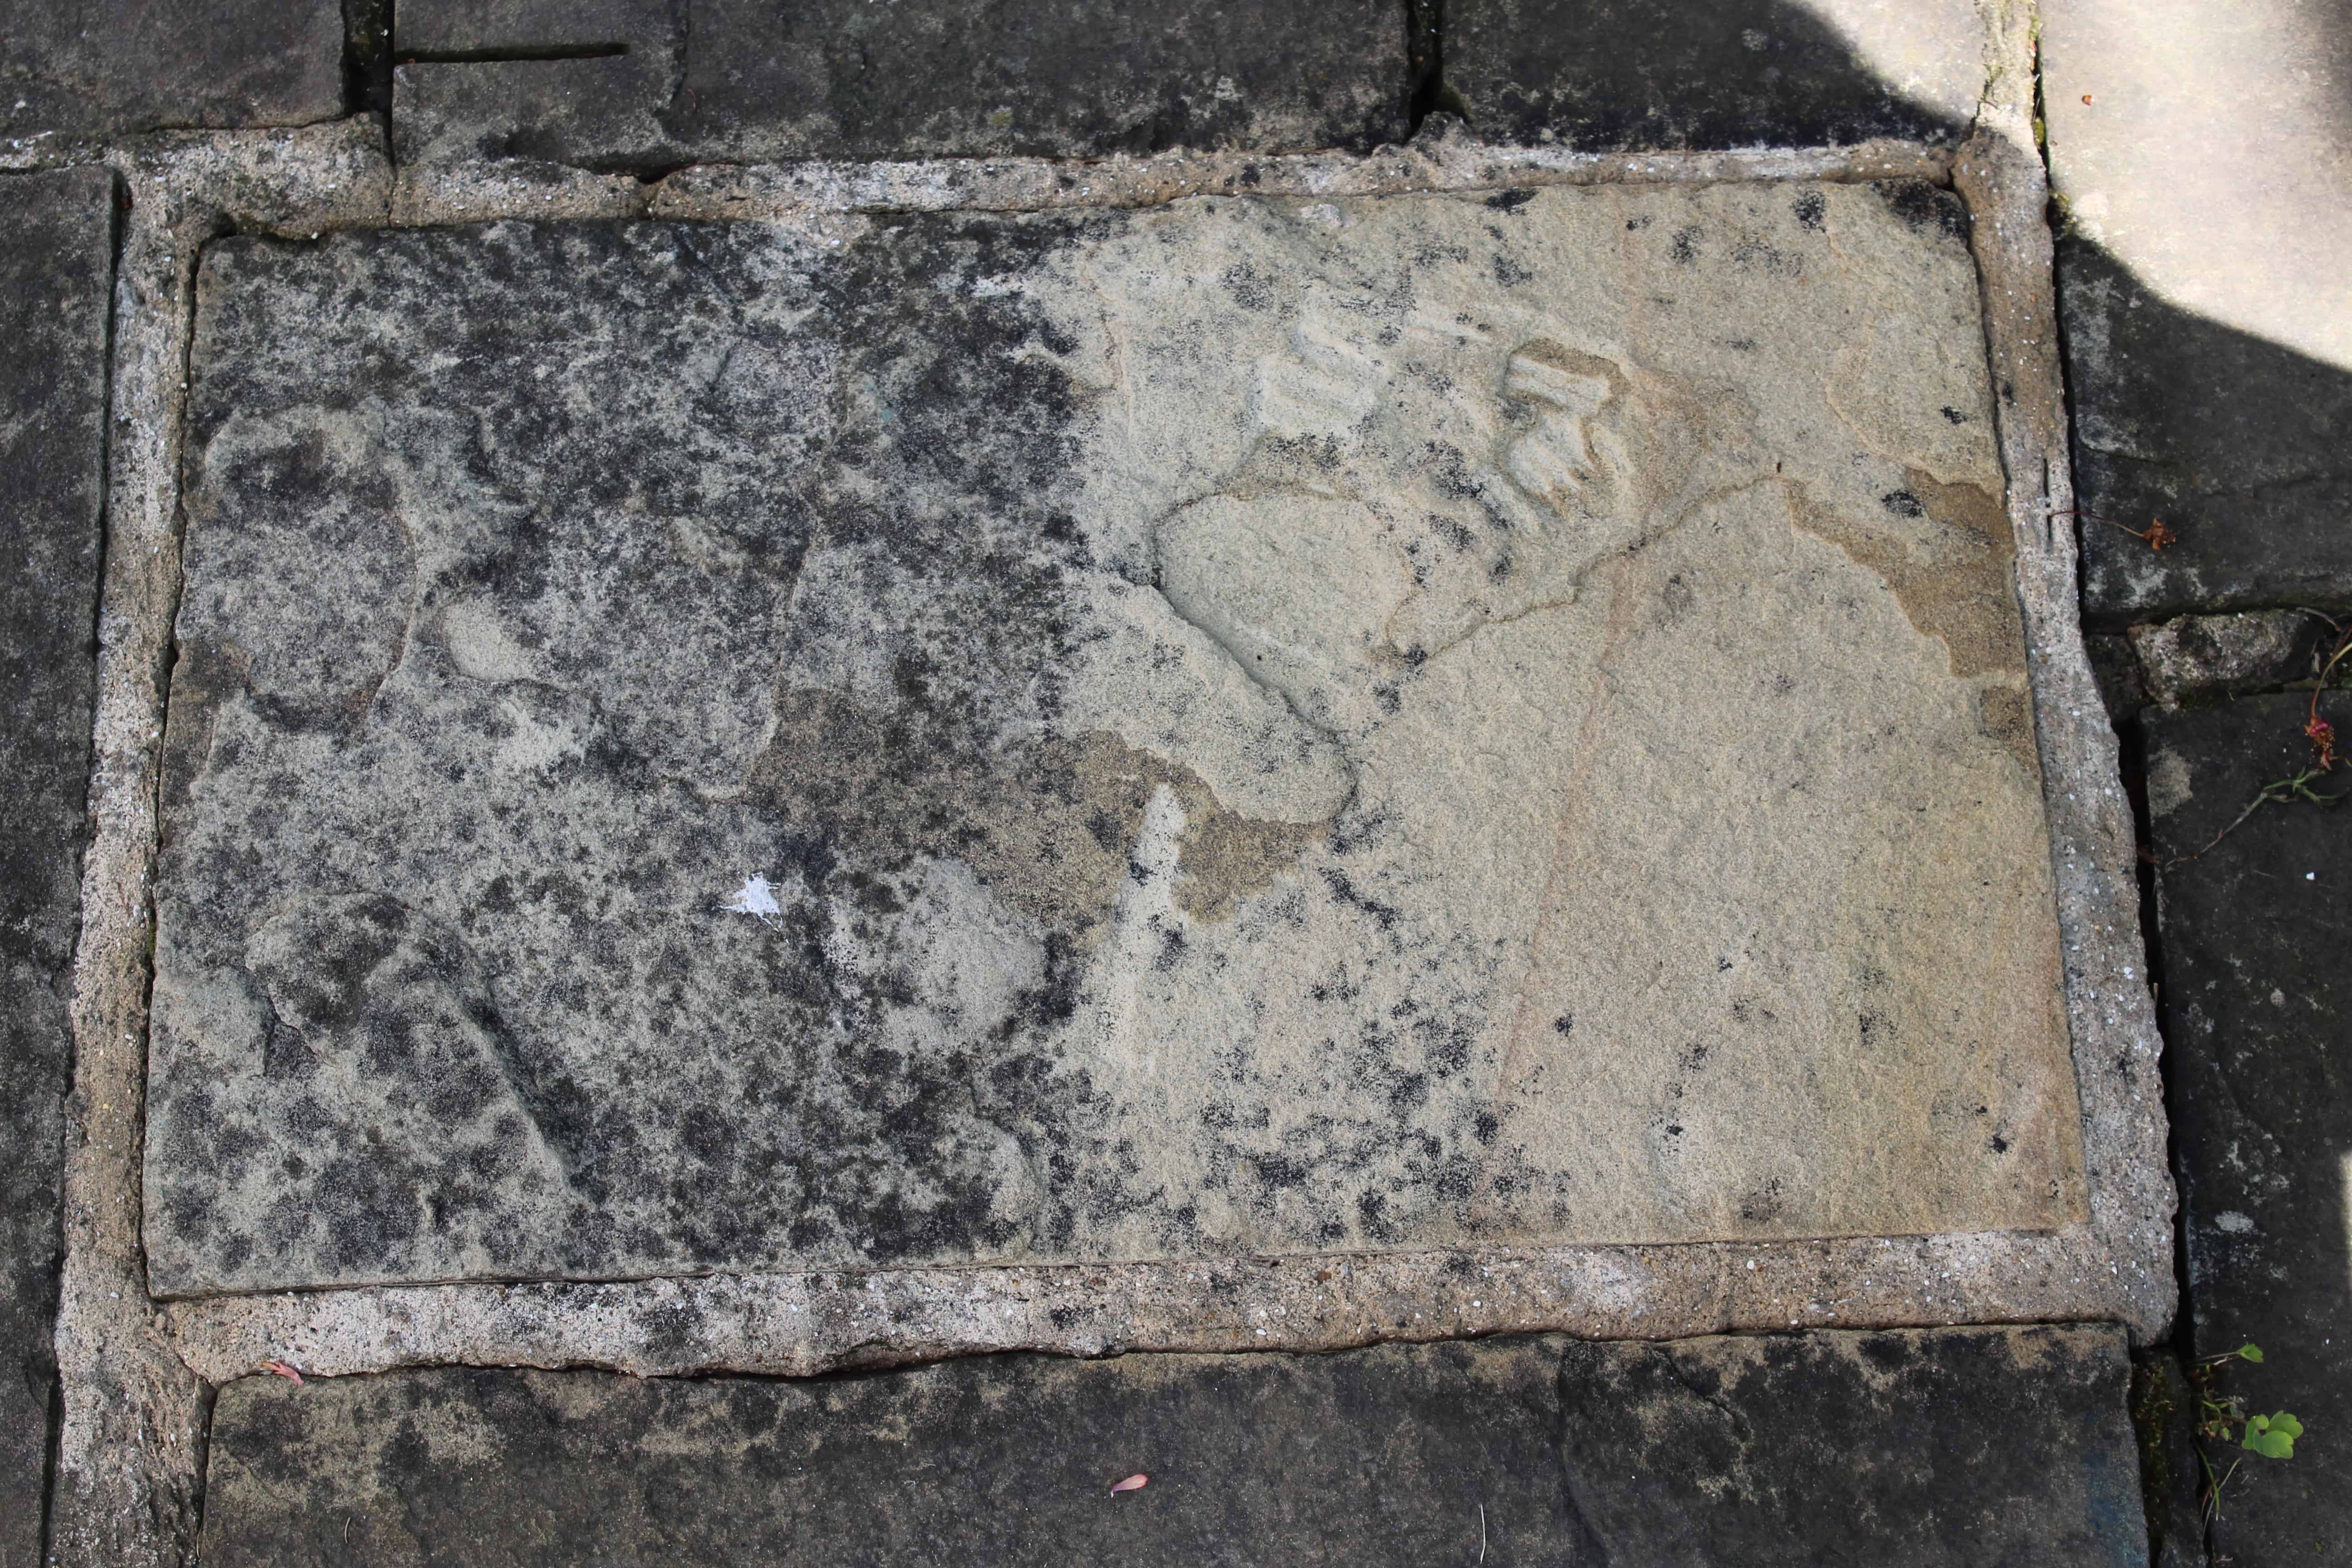
After this success I decided to do half of the already treated half again and you can see further improvement (far right):
I think the best thing is to treat the whole patio then reapply to the really stubborn bits!
The other stone I tried was this one.
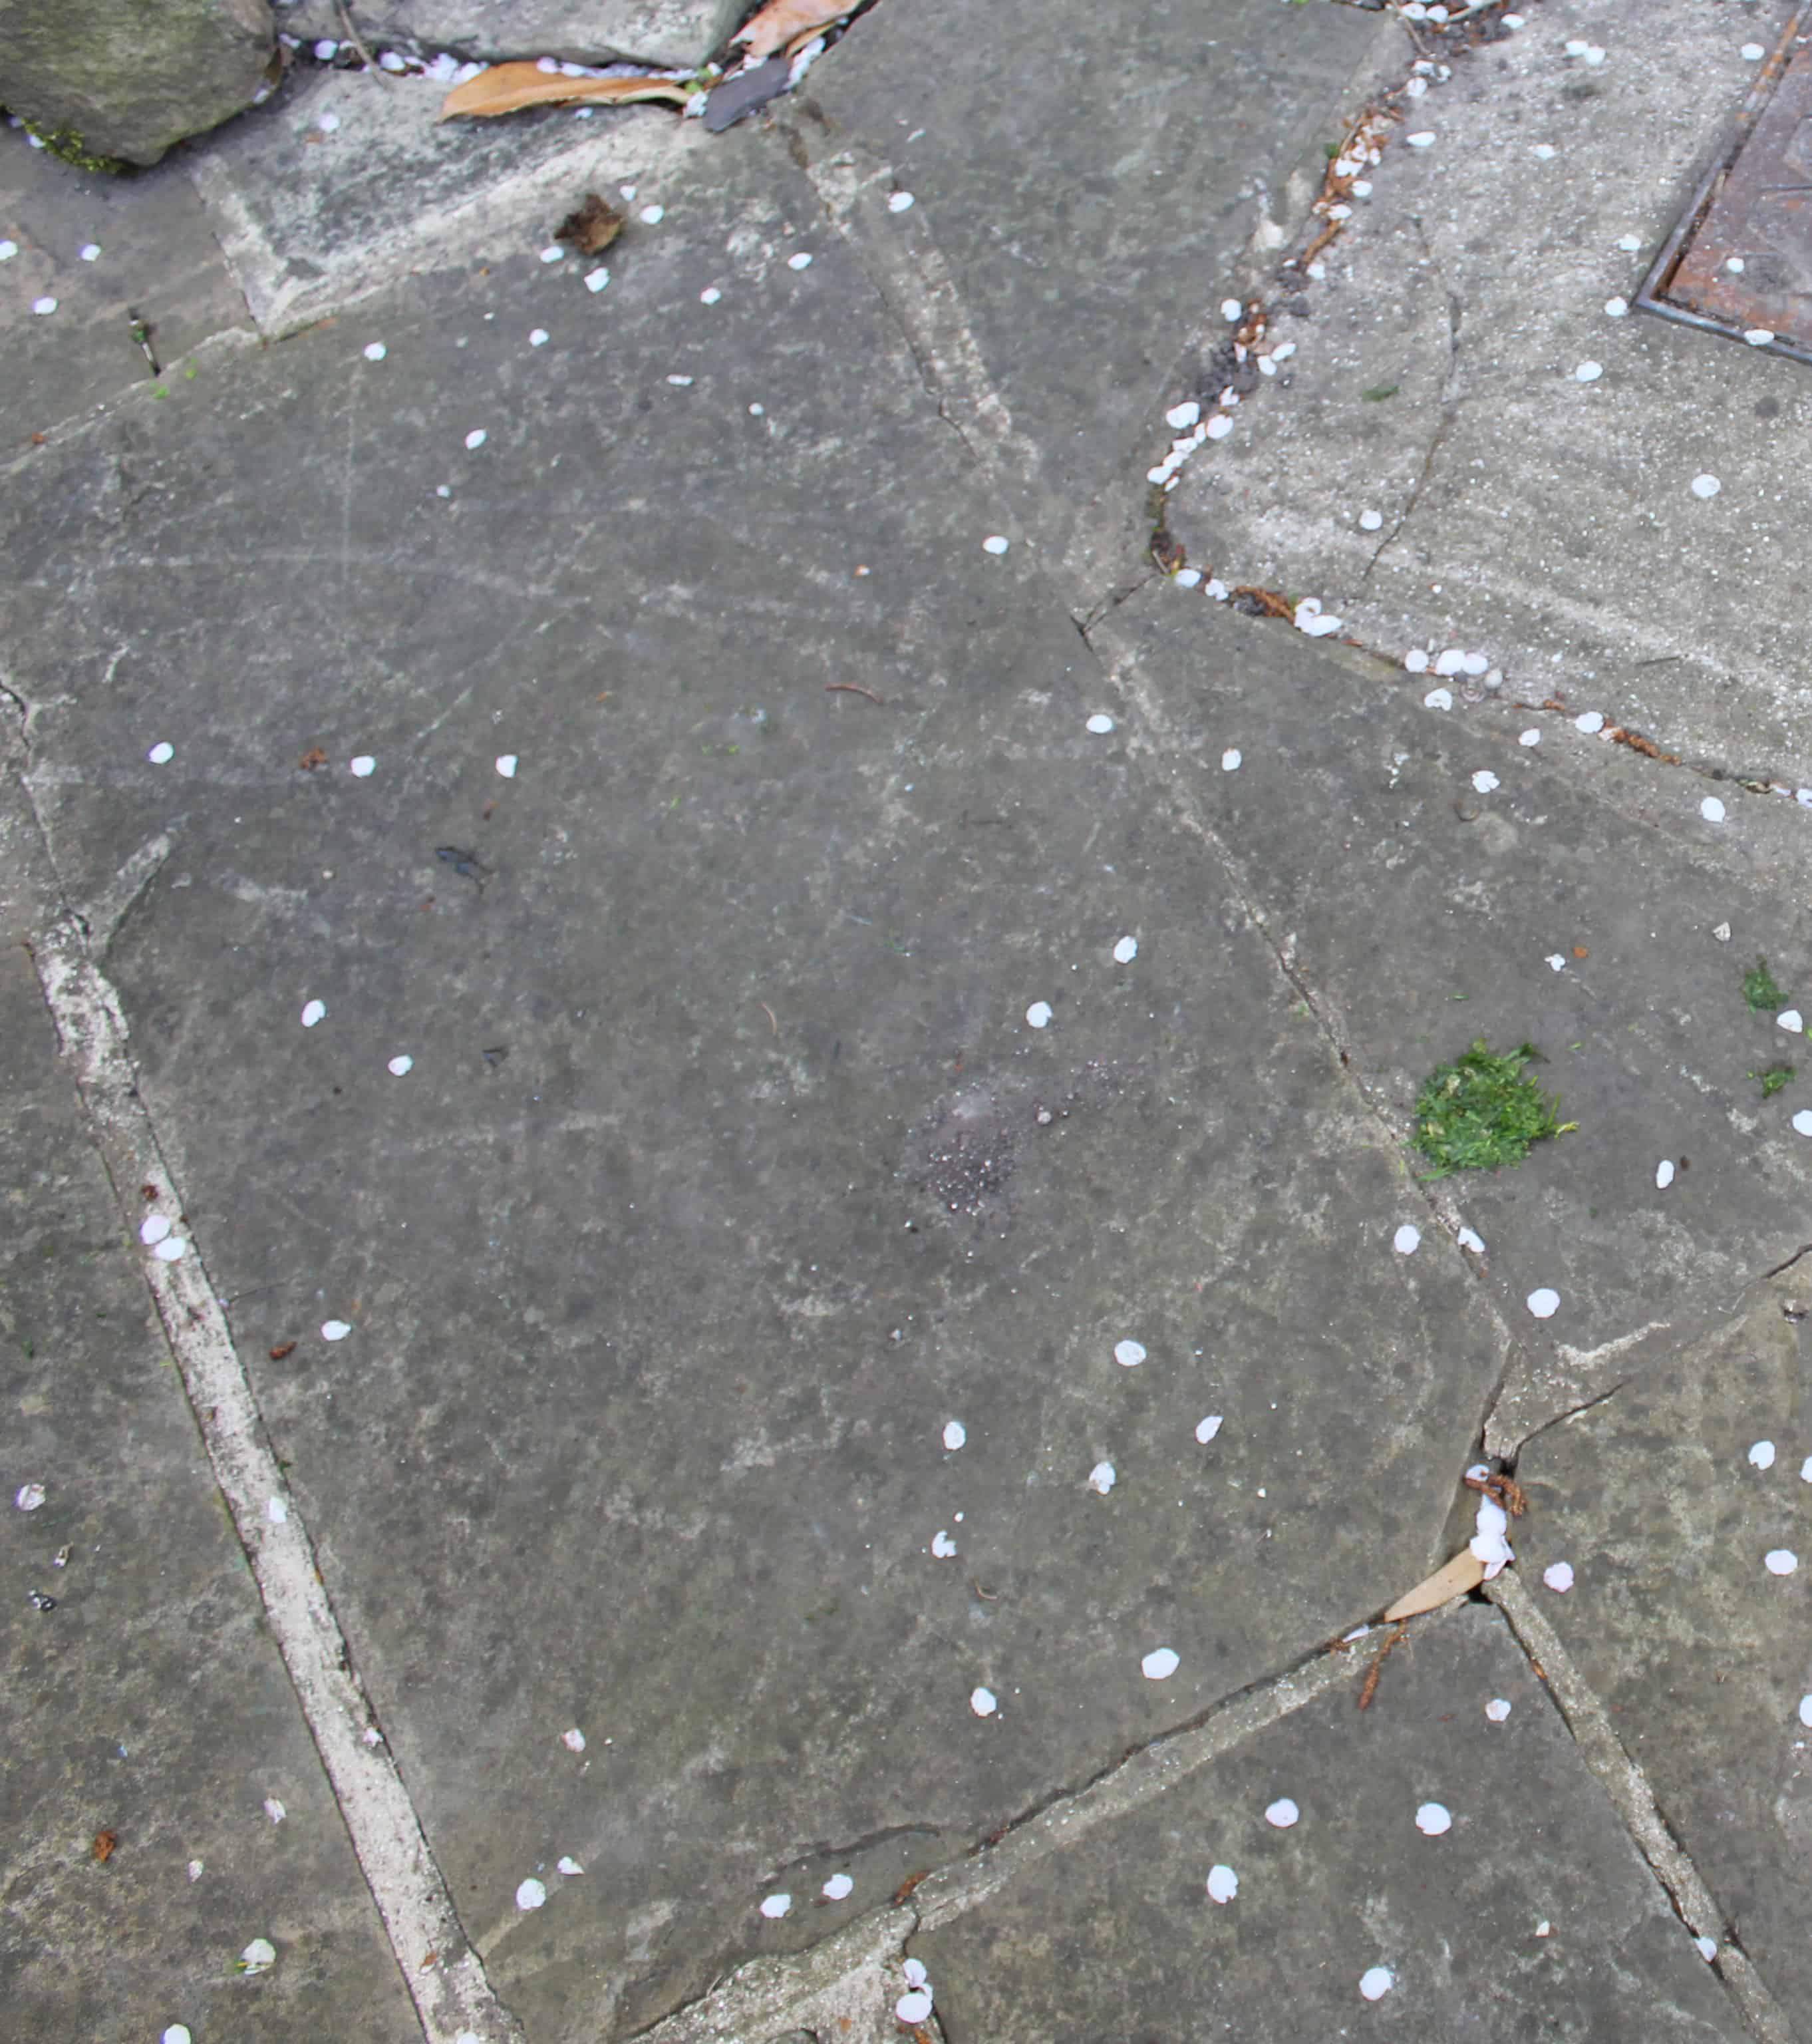
It hadn’t been pressure washed to begin with and the after result was less impressive. I would say it came up as clean as it would have with a pressure wash.
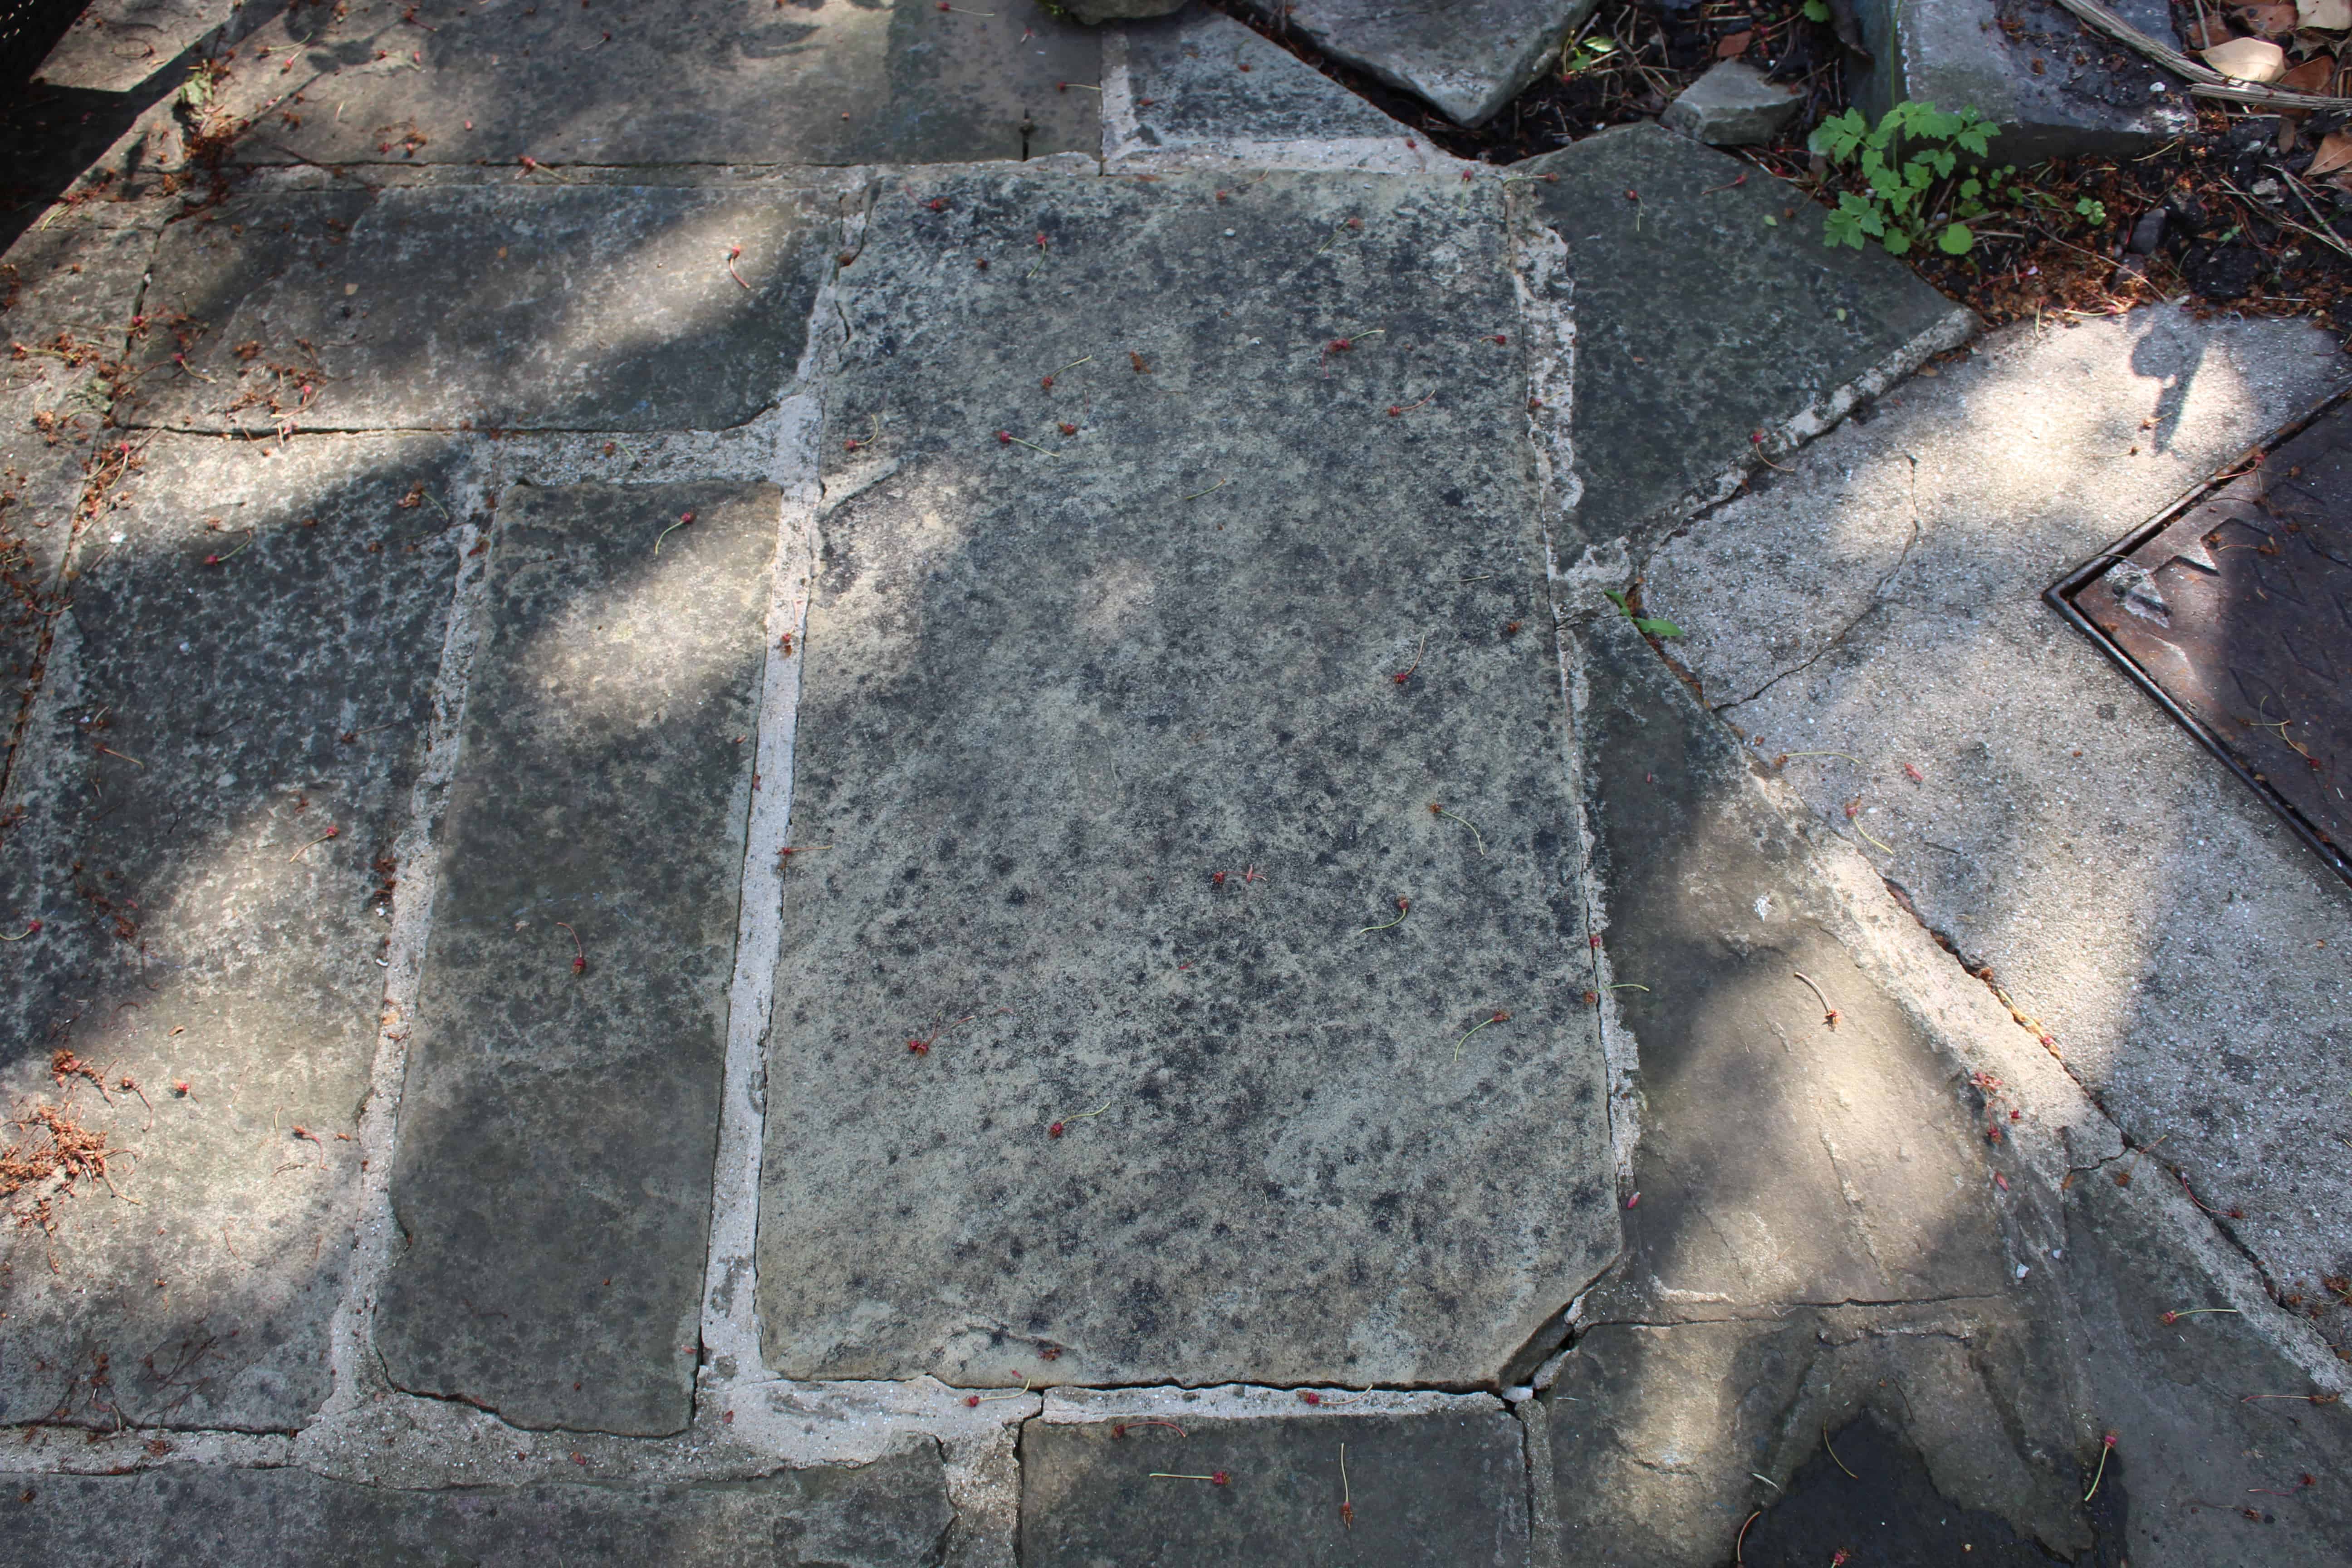
However, I then re-tested just the left hand side and just look how clear the difference is!
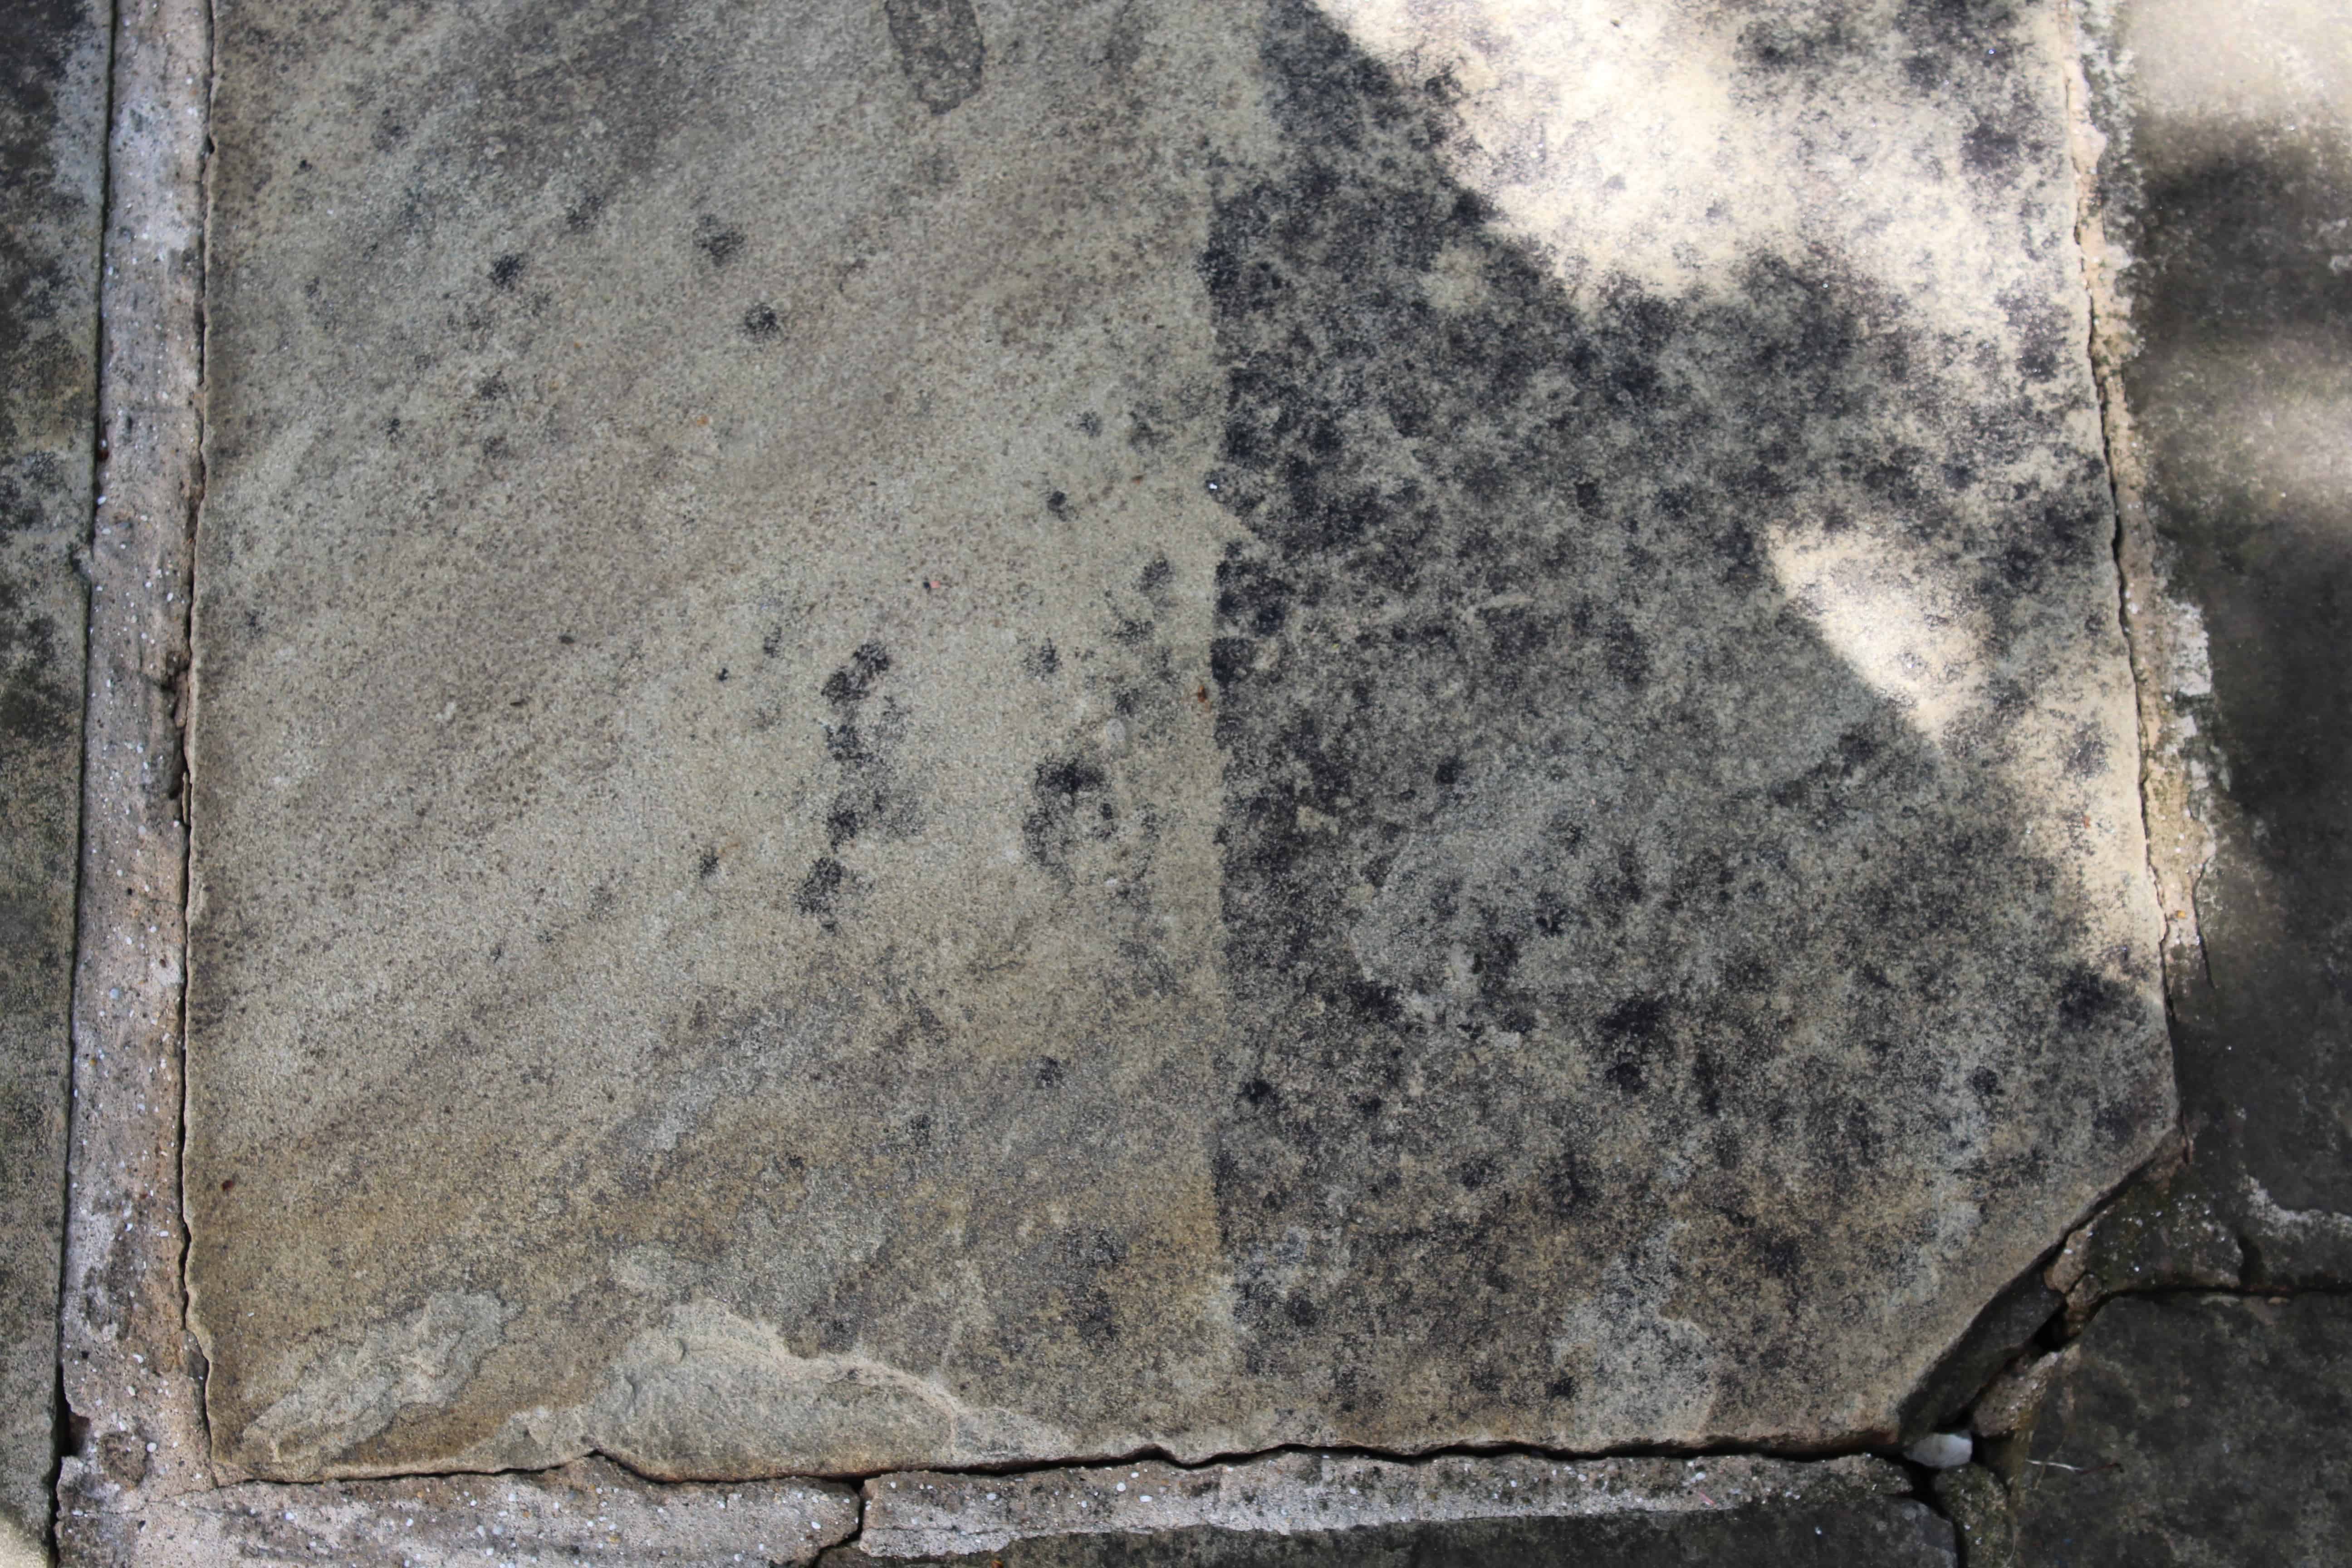
I think what we take away from this is to pressure wash first if you can!
£70 seemed expensive to me initially, but to get these results it really isn’t. Completely recommend it. But pressure wash first to get the best results! I love it and just need to get round to doing the whole patio!
The Patio Black Spot Removal Company invited me to review but as always the opinions expressed are my own – besides, I have (genuine!) before and after photos!


From the M.D. at thE patio Black Spot Removal Company Ltd;
Thank you for taking the time and trouble to review our Patio Black Spot Remover. However, you would have achieved better results by using a pneumatic garden sprayer – Hoselock 7 or 5 litre size. The Patio Black Spots grow into a sponge with roots that anchor themselves in the stone. By spraying, it replicates a fine shower of rain which they absorb, take down to the root, which the product kills, and I simply jet washed off. The key is to apply enough for them to absorb. Failure to do so will produce a result similar to picture 4) above. The difference between using a brush and a spray is chalk and cheese!
Also, avoid using it in the current heat; a dry , but overcast day is perfect , as the product must stay wet for 2 hours.
Prepare to be Amazed!!
Actually the results were pretty amazing anyway! So yes, it must be pretty stunning when done with the spray. It’s definitely my new favourite product, make no mistake!