Octopus Installation of Heat Pump – this is our second post regarding our heat pump installation with Octopus Energy. You can read the first post here and our final post on the breakdown of the Tariff and Costs here.
Let the chaos commence! It’s installation week and hopefully not chaos! We received a text from our lead installer on the Sat prior to Monday start date. We also had a phone call but we hate phones, so a text followed. He introduced himself and advised an ETA.
**If you are a new customer to Octopus you can sign up using our link and we both get £50!**
Day One Octopus Energy Heat Pump Install
Monday morning! He was on time, can you detect that I’m quite keen on being on time?! Followed shortly after by approximately 7 million colleagues, ok, it was 6 I think, possibly more, I lost track.
Another guided tour followed so he could orientate himself, though he had seen the numerous photos/videos from the survey.
After this he set one of the installers covering the whole house carpets with carpet protectors/ shrink wrap. At least anywhere they were needing to walk. We had cunningly picked one of the wettest, windiest and muddiest weeks going for this.
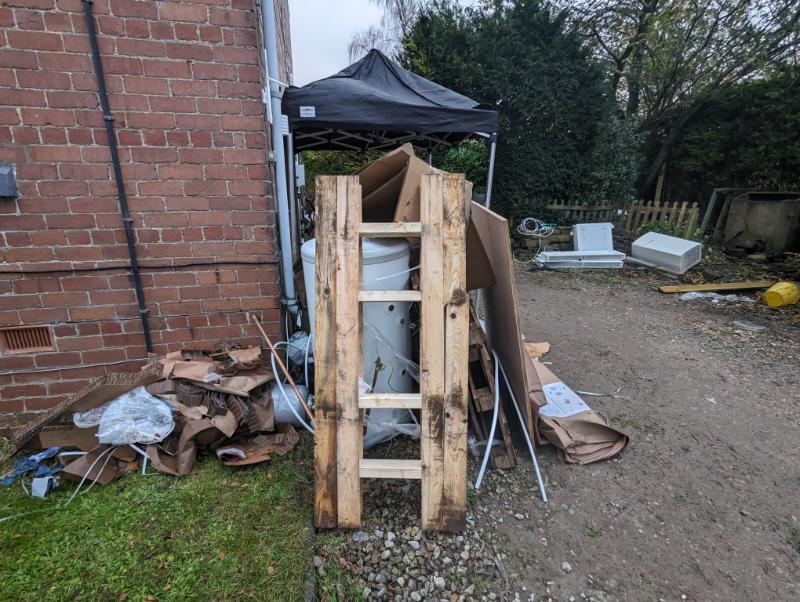
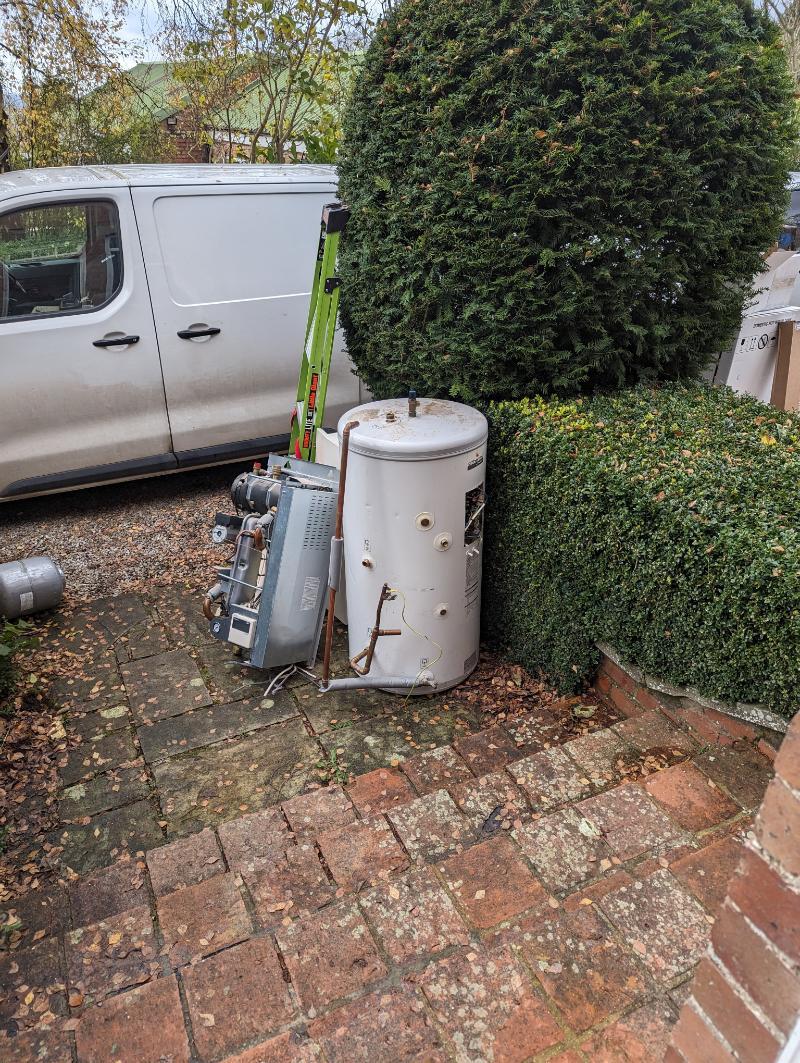
By 9.30am the system had been drained and every radiator that wasn’t staying had been evicted from the house! Old cylinder and heating gubbins were also removed. We were quite chilled out about the lack of hot water for a couple of days or so. There was an offer of electric heaters, blankets, and fans to take the chill off the house. But I declined as we have been heating the house with electric panel heaters anyway. But good to hear that was offered.
So far, very efficient! Had a few conversations along the way about how they are going to do things. Sensible conversations though, I didn’t feel shoe horned into anything. I feel that’s really important, there’s nothing worse than a big project like this where you regret something that you were pressured into choosing.
Had a couple of chats with their electrician and the 2nd electrician – new to Octopus but experienced – about various aspects of the installation. Mainly locations of bits, the new consumer unit location, cable routes. To be honest, he was quite sensible and concerned about aesthetics as much as ourselves. Thermostat location to avoid the need for awful surface mount trunking for example, no one likes that!
End of the First Day
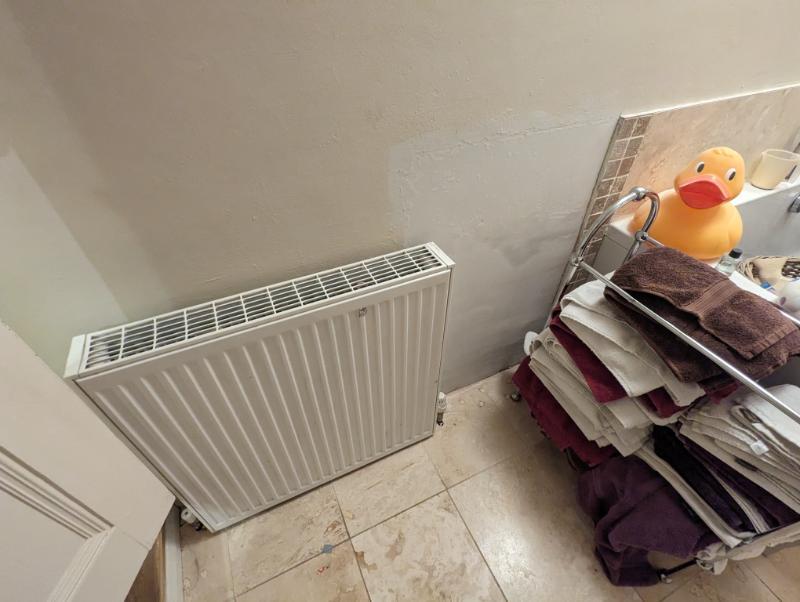
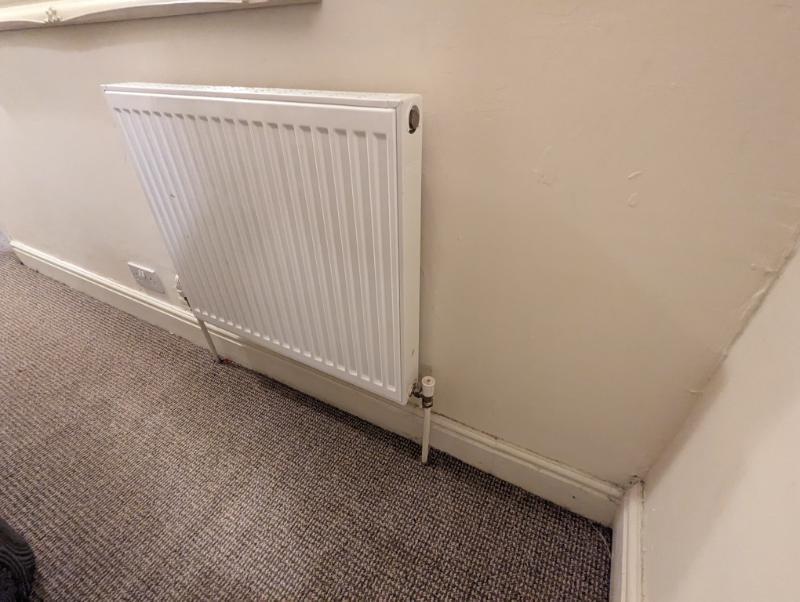
By the end of the first day I had my daily walk through from the lead installer to advise on progress and check I was ok with how it was proceeding. We had all the new radiators attached to walls and carpets/floorboards back down where they had been lifted. The two main bedroom radiators had been plumbed so I could put these two rooms back to some sort of order. Phew!
A decent amount of electrical work had also been completed. The wiring to our old heating system was mostly removed, it was using three circuits for reasons best known to the plumbers 13 years ago. Also, our septic tank is attached to one of them. The wiring to this was tidied up admirably, leaving it neat and tidy and better than before!
A new consumer unit was attached to the wall next to our old one. Little bit of a pain, but I can see the argument for this. If you’re wondering – they could have used our existing consumer unit if it had spare capacity. But also, they will not use it if it’s not a metal consumer unit with surge protection. Now, our main consumer unit is scheduled for replacement in a couple of months by our electrician, by such a unit. I wish we had known this info beforehand as we would have brought that date forward. I think we will consolidate the two when our electrician does this work, just might have to pay him some more!
Day Two
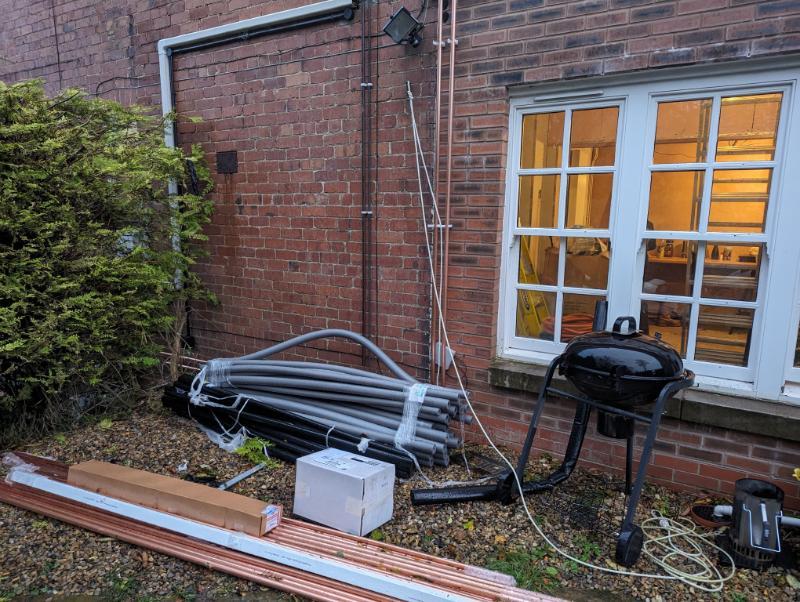
Similar numbers of people appear, they’re all very friendly though and happy to get cracked on doing whatever they’re doing. (You might want to apologise to any nice neighbours you have about all the vans). There’s certainly no slacking going on, just getting on with things. The main large piping run from the heat pump to the cylinder location gets properly underway. This looks like about 60mm once pipe insulation is on. Following pre-agreed routes which I am happy with being able to box in when they’ve finished. I think our house bricks – early 20th century and very hard – put up a challenge, but to be fair, he didn’t grumble about it.
Both day 1 & 2 has some truly awful weather. Storm Debi said hi and can’t have been much fun to work outside in. They did their best to close doors to the lounge/ dining room where we were keeping out the way!
Over the course of the day, I mostly kept out the way and let them get on. I needed to move a chest of drawers on the landing at one point for the new cylinder to get past, but that was about all I needed to do.
End of the Second Day
Daily run down time………all radiators other than the bathroom are now plumbed up. The somewhat awkward loft radiator has been attached. A number of years ago whilst in a crawl space in part of the loft, I dragged through 2 plastic pipes with a plan to have these connected, I never did. These were able to be utilized for the installation. Plastic is certainly not their preference, but there’s no access to the crawl space any more, they are 15mm JG Speedfit, so they used them and just joined copper at each accessible end.
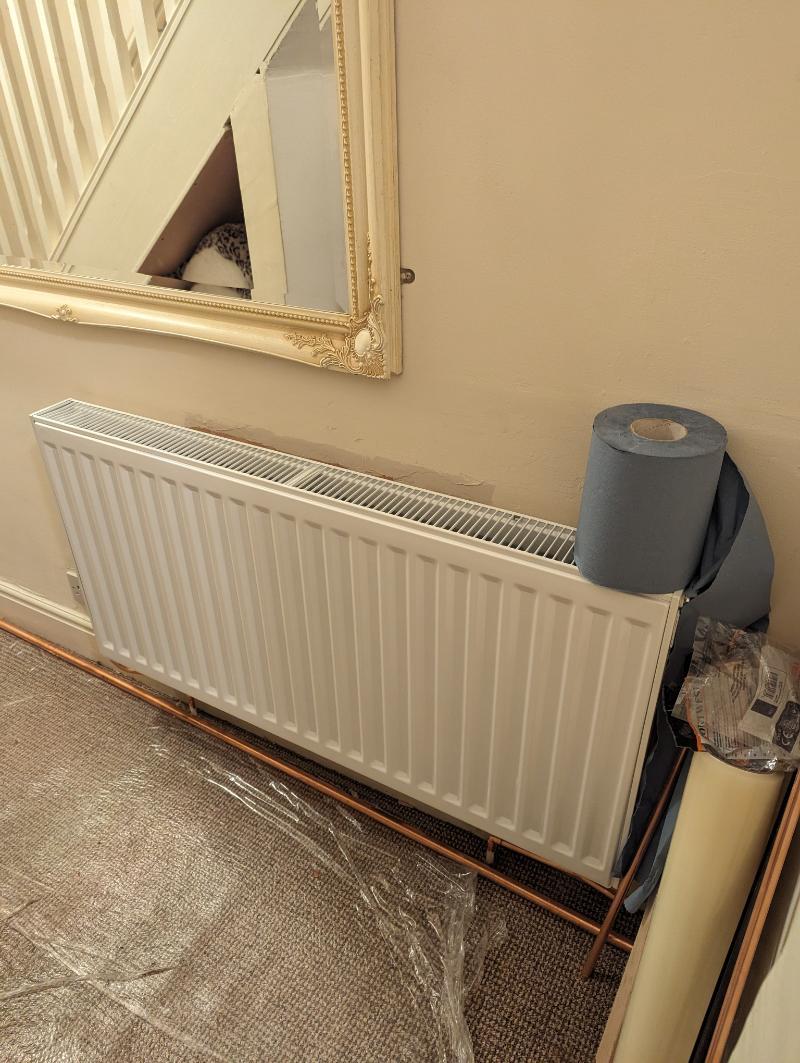
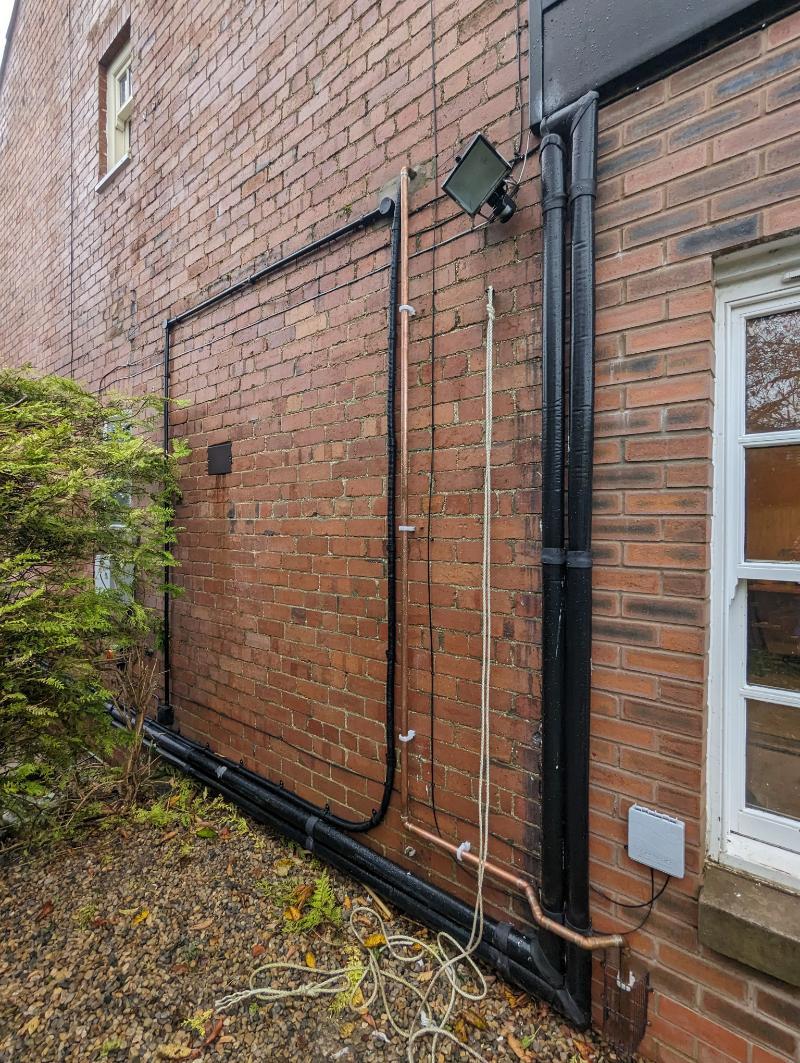
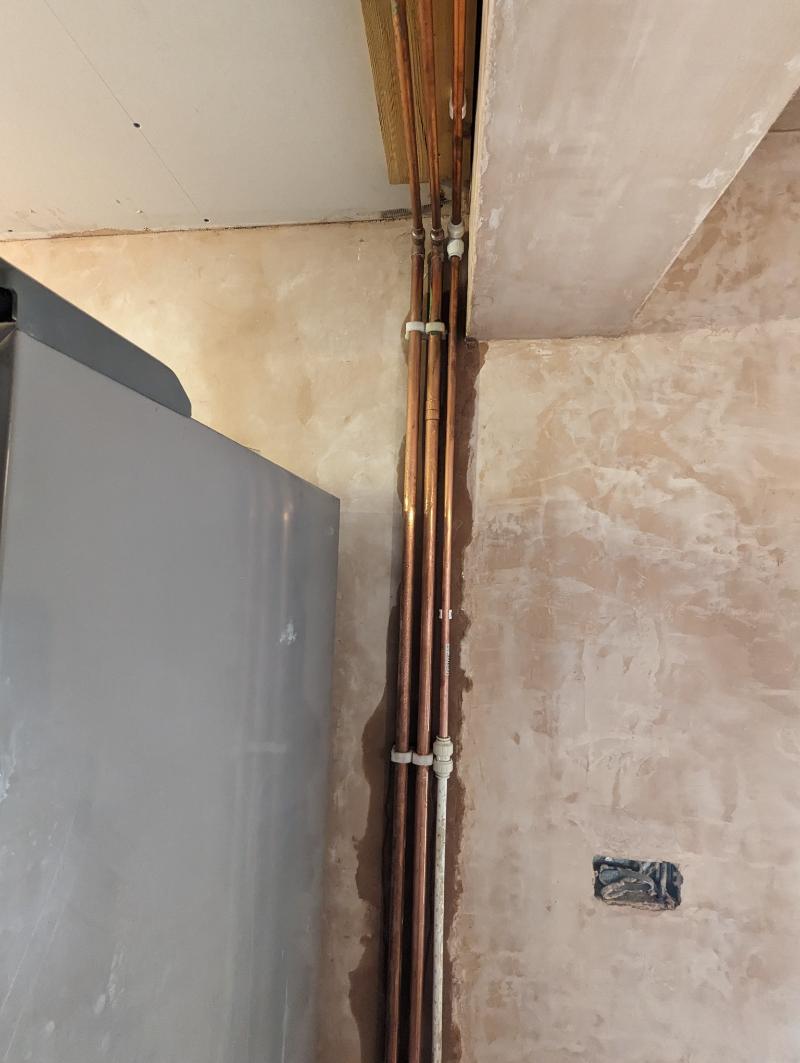
There was a lot of work put in to re-piping for the two kitchen radiators. The pipe run supplying both was replaced with 22mm (from 15mm). Then reduced to 15mm for each individual radiator. This is all about flow rates, bigger pipes, more water flowing at lower temperatures. The geek in me finds this nicely sculpted copper pipework very satisfying. Elegant bends where appropriate, etc. Again, following agreed and discussed route where I can easily box them in afterwards.
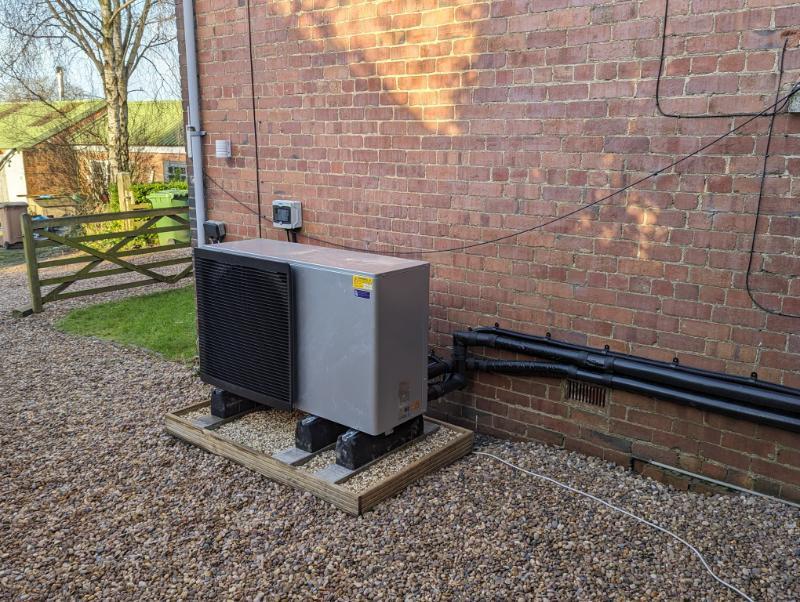
The heat pump is now in place. On a base constructed of timber frame and gravel underneath. I had previously just expected it to be sat on the gravel drive, but it looks rather neat how it’s done. It could have gone a little closer to the house wall, but advised that if I am happy, its ideal location is there. They like airflow and space around them for this. It’s perhaps a smidge further out than I would have gone with. But our house has been bloomin’ freezing and expensive to heat for far too long, so we are just embracing it and going with any recommendations. We have put a lot of work into insulating anything we can and replacing single glazed windows, etc. It would seem foolish to do anything which makes it less efficient, even just a little.
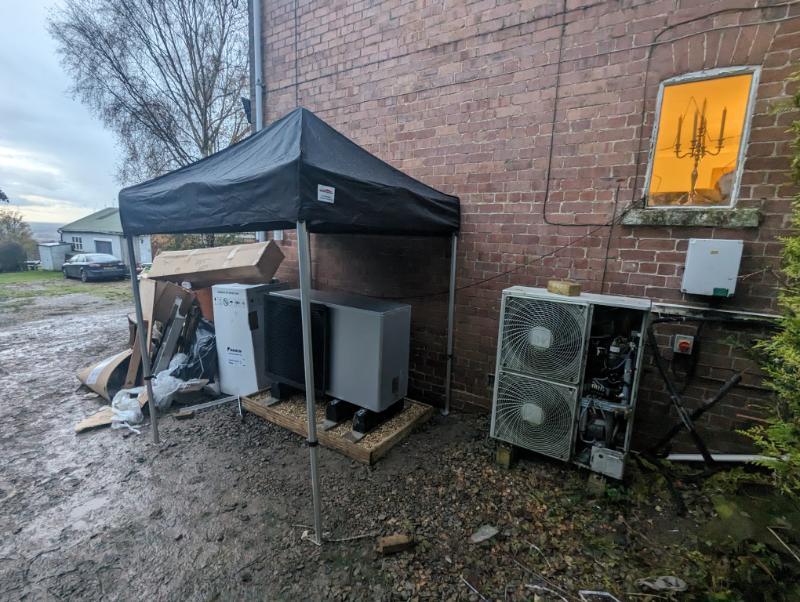
That’s my lot I think, there’s a lot of rubbish, but am told the rubbish collection people are scheduled for Friday. Might need some new gravel, the old was rather past its best before, but has elevated itself to mud pit levels now.
Day Three
Everyone is here again. Yes, we apologized to our nice neighbour about the van invasion. Fortunately she is very understanding!
The electricians are back again, they were somewhere else on Tuesday. Doing what electricians do. Getting soaked on the driveway into the bargain. They were doing various wiring inside my shiny new heat pump, between the heat pump and the cylinder and to the cylinder itself. The carpet and floor came up again in a bedroom for this. We also had another discussion about the thermostat and the Daikin Madoka (control panel/posh thermostat) location! We’ve discussed this a few times now, but finally decided on a spot on the landing near the cylinder. In a little row alongside my existing (electric) underfloor heating controller for the bathroom.
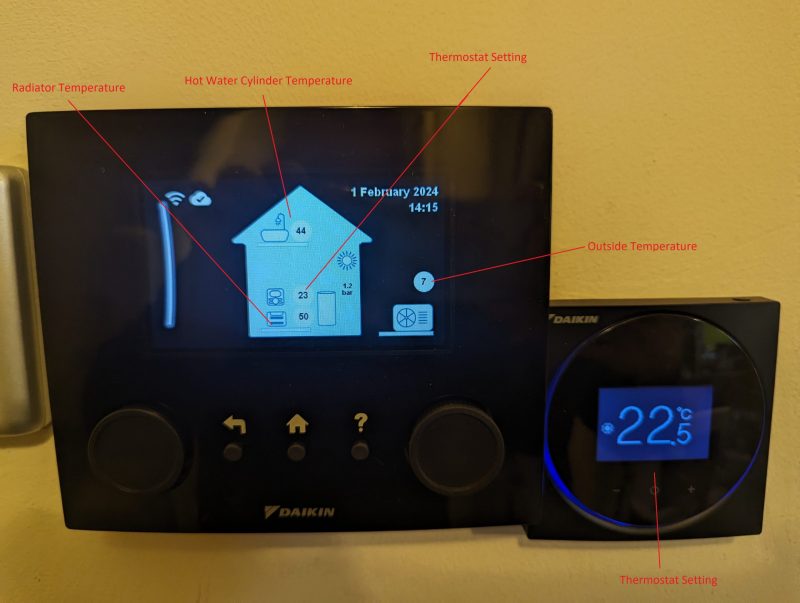
We will be getting two control units for the system. One is the Daikin Madoka, which does all sorts of techy stuff with the heat pump, along with more standard room thermostat/schedule control for the heating. The Madoka has an app to control it so I am happy with the location there. Otherwise I would have wanted at least one of them downstairs for easier access. Read more about them later, when I have had chance to play with them and figure them out myself.
Daily rundown time, my lead installer advised me that to start the day off, he had redone a chunk of the cylinder plumbing! He had delegated this to one of the newer members of the Octopus installation team, but evidently wasn’t entirely happy. Good to know they keep an eye on this and aren’t afraid to decide it’s not up to their standards. I’m sure the first iteration would have worked, but perhaps not as well as it should. They also hooked up an extension lead to power the immersion heater. So, we now had hot water back! It was setup on a timer with an RCD and we had a cylinder full of lovely hot water. If we were to use up the cylinder before morning, we had instructions on how to reheat, we didn’t need to.
The plan at this point seems to hopefully get finished off with the bulk of the work on Thursday. Hopefully just leaving commissioning and testing on Friday, and hopefully some heat, I am jolly chilly right now……
Day Four
Things seem to be calming down a little today. Everyone is still here doing stuff, but it’s seeming like the bulk of the work around the house is done.
Moving straight to the summary as it was less obvious what was going on until the end. The electricians are doing more wiring under a bedroom floor. The Daikin Madoka is in place, awaiting the thermostat to be delivered, advised Friday for this. Also a small but vital component is coming Friday. I think it perhaps should have been here initially, but the electrician is making sure it is en route! I think they can all sympathise with the lack of heating, did I mention we haven’t had traditional radiators for about 5 years now! Our immersion is however hooked up for the evening.
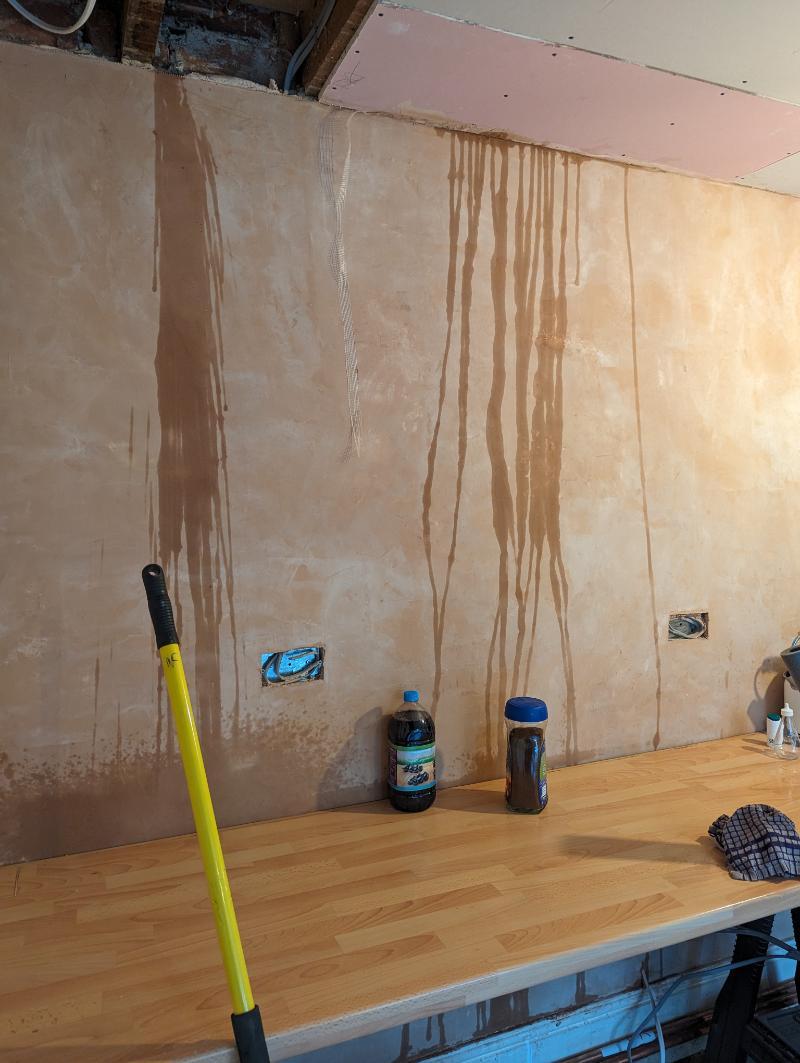
The system is filled up with water towards the end of the day. A bit of what we’ll call – frantic soldering – ensues. I’ll let them off, there’s been a lot of new pipework gone in this week. And it only leaked above the one piece I (deliberately) haven’t plaster-boarded in the kitchen, below the cylinder. As far as I know, that was the only leaking bit, so far…….
Not much more to report for the day, Friday is hopefully more exciting!
Day Five
They’re starting to tidy up and disperse tools and parts back to vans. This must be a positive sign.
The bathroom radiator should be getting connected, not sure why it wasn’t so far, but no matter! Oh, it was just connected and spurted water through the ceiling, oops. This is again my unfinished ceiling so I am quite relaxed about it. One chap did run down and do his best to get mopping.
Also, a Luton van reverses up and the huge pile of scrap and rubbish mysteriously vanishes and our driveway looks instantly better! Very efficient.
What else is left? Lots of pipe insulation, everywhere. More electrics. He had to remove various circuits from our old heating system, but leave one connected to our septic tank, you don’t want to know what happens if he breaks that 🙂 The other two circuits are made very safe in a junction box and the breakers left off. They’re not allowed to remove from our existing consumer unit though. I don’t mind, our kitchen electrician is booked for a couple of months time, so he can remove them then.
I keep feeling the radiators in the hope I feel heat. Really hoping they’re all sorted for the end of the week. Whilst they’ve all been nice, we’re ready to reclaim our house and enjoy the end result. Despite all the many calculations and upgrades done, I can’t help but feel nervous. Will it work, will we be comfortably warm whenever we choose, etc……
By late afternoon we are now down to 2 people, our lead installer and electrician. Unfortunately for them, twiddling thumbs waiting on the previously mentioned small but essential parts! 16.45 (on a Friday!), it finally gets delivered, they must be jolly grumpy surely, but don’t let it show, on the contrary, full of apologies!
Unfortunately, 2 hours later they admit defeat! Everything is installed, turned on, etc. But the compressor in the heat pump refuses to fire up. They admit they are stumped, it has no error messages, just doesn’t do anything. Daikin tech support closed at 17.00. I can’t help but feel Daikin need to improve this, certainly to have a direct contact to Octopus engineers available whenever they need.
They have kept everything very clean, despite the weather and accompanying mud. Once the carpet protectors were removed, everything was hoovered and given a clean down. Behind the old radiators where moved, this will need redecorating, but nothing major. A bit of filler and a quick paint and you’ll never know.
So, that was installation week. More to follow when we hear from them.
The Following Week
We are awaiting a Daikin engineer to come and look at the heat pump. It seems our heat pump will however run on backup heating when the compressor won’t run for whatever reason. Two things to note from this, the 3 kw backup heater can warm our house, but it is jolly expensive! Useful feature and good as a backup, but just be a bit cautious with this or you’ll choke on your Cornflakes at the consumption. I decided to just run it for select periods during the day after the first 24 hours!
A Daikin engineer arrives on the Thursday afternoon, and looks puzzled, so I leave him to it. He’s joined after a little while by Ben, our Lead Installer again, who has returned to hopefully set things up. After an hour-ish, it turns out a wire or connector inside the heat pump has dislodged in transit. This has been pushed into place and we’re good to go. Buttons are pushed and the heat pump starts working. As time is now knocking on, he arranges to return the following day to set things up as they should have been the previous week.
Come Friday, we wake up warm courtesy of the heat pump! Ben arrives and sets to work doing stuff. The radiators all get balanced, bled, etc. Probably other bits and bobs happened over the course of 2-3 hours until he declared it’s ready for handover!
We start by getting it connected to WiFi, which seems to progress trouble free. It connects and starts downloading updates and rebooting itself. I’ve already downloaded the Daikin ONECTA App and setup a user account in eager anticipation. Once setup in the app you can see and control any of the day-to-day settings of the heat pump. Things such as current temperature, schedules, etc. Ben gives us an introduction to creating schedules in it, and how to manual turn temperature up. I’m happy to be left to play in my own time to set this up. More on this later, when I’ve had a bit of time to play!
So, we are done and installed and off he goes. Time to find out if it works and was it all worth it……….
A little addendum/oops!
So, our first morning with the heat pump fully working. I glanced at the display – as you do, I am quite sad like that, (it’s like a pet, but less fluffy) – the pressure looked very low. Strange. One child then described their new radiator as making vomiting sounds, hmm.
Downstairs I go for my morning coffee and the loss of pressure is immediately explained. Water running down the wall and across the kitchen floor. Boo! It seems a new pipe has burst at a joint by the looks of it.
Time to test their aftercare……..so we have a helpline number which opens at 10am on a Saturday. Rang at 10.01. A rather jolly sounding chap answered after about a minute of calming music. I explained the heat pump was handed over yesterday and was now emptying its contents into my kitchen.
He understood that this was thoroughly undesirable and allocated it as an emergency. I am to expect an engineer within 4-6 hours, and a call from him to advise when he’s coming. I am quite chilled, the kitchen is awaiting plastering and flooring, in fact that was waiting for the heat pump installation to be done with, kind of glad I waited!
There was then some awful sounding noises from within the cylinder cupboard. As if it was trying to pump water which is now in my kitchen not the pipes. Decided to turn it off at the main breaker, hopefully this is the best thing to do. I also connected a hosepipe to a drain off point and drained any remaining water outside.
After a couple of hours an engineer appears. I do some pointing at the leaky bit, he does some more draining and sets to work resoldering the joint. After a couple of hours, the system is being refilled, air purged, bled, etc. I am now a bit suspicious of things, but at the time of publishing this post, we are now 2 months after installation and nothing else has leaked!
We have signed up to their Service plan at £9/month, I quite like having one number to ring at any point if anything goes wrong!
Post Installation
We had a post installation visit scheduled to check back with us on the installation and if we’re happy with everything. Are we? Well mostly, but raise the point that the kitchen is just not feeling warm enough. We have had some jolly cold weather up here and we are in an exposed location. We do feel like the kitchen area has struggled to warm up properly. A surveyor is booked to check the original survey and see if anything has been missed.
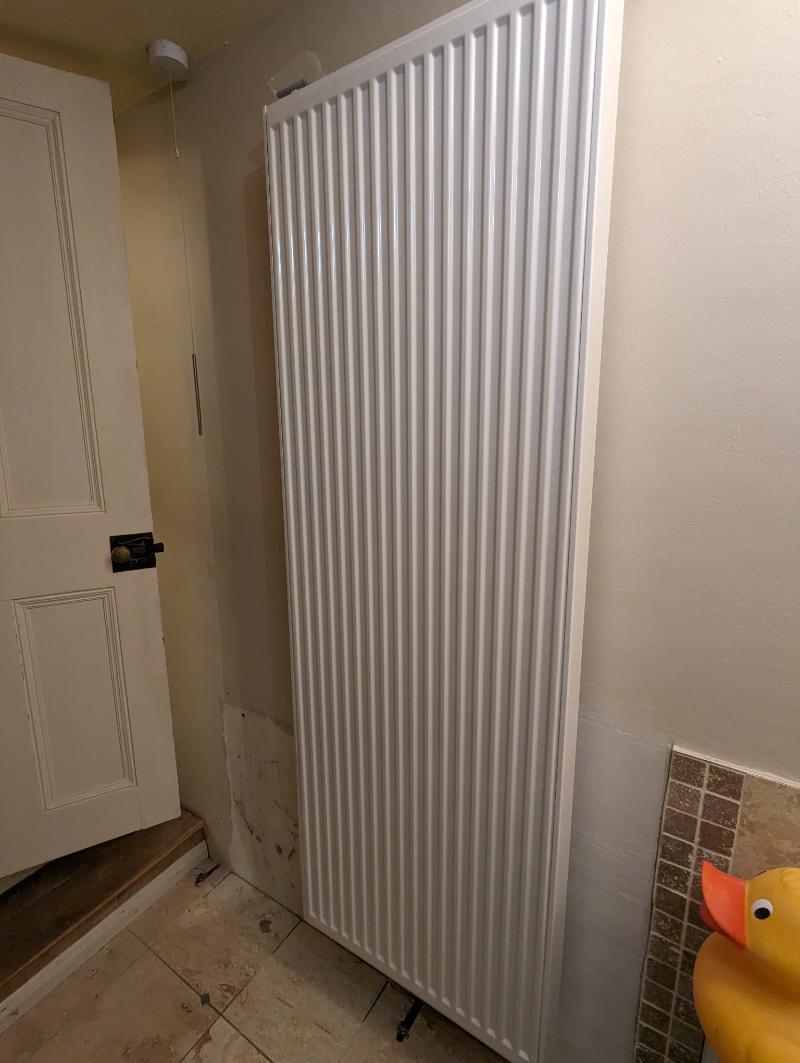
On attending, on paper he and the computer still think that the specified radiators should do the job. However, he does accept that it just isn’t feeling warm enough, indeed one end of our kitchen was at 14 degrees that day when I checked. Following some discussion on the phone with his colleagues, a radiator swap is agreed for a couple of weeks later. A small single panel radiator at the cold end is going to be swapped for a larger vertical double panelled version. This is apparently now overspecified on size, so I’m hopeful that this resolves the issue.
Summing Up The Installation
Aside from the colder than desired kitchen. We are really happy with the installation. Upstairs feels like a different house, it just sits at a nice comfortable temperature, toasty in the bathroom, just nice everywhere else, including the loft. We are yet to run out of hot water and it’s only scheduled to run once a day at 4 am cheap rate. As a side note, no more condensation on the inside of windows. As heat pumps are at their most efficient when running all the time, there’s much less fluctuations in house temperature.
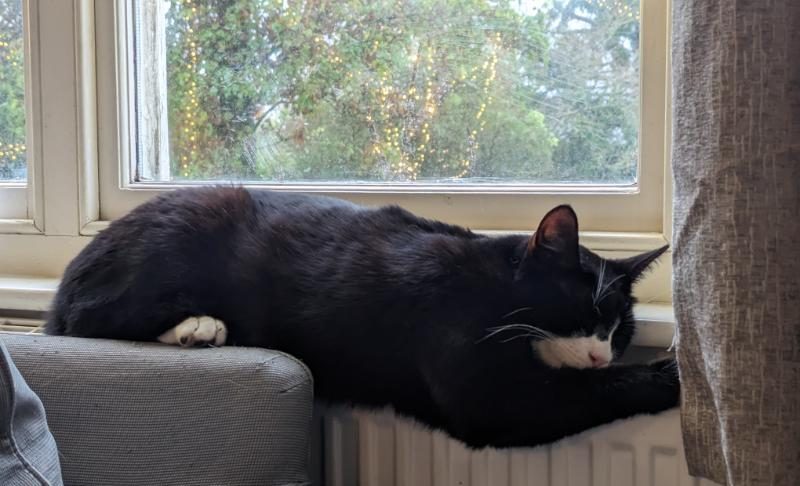
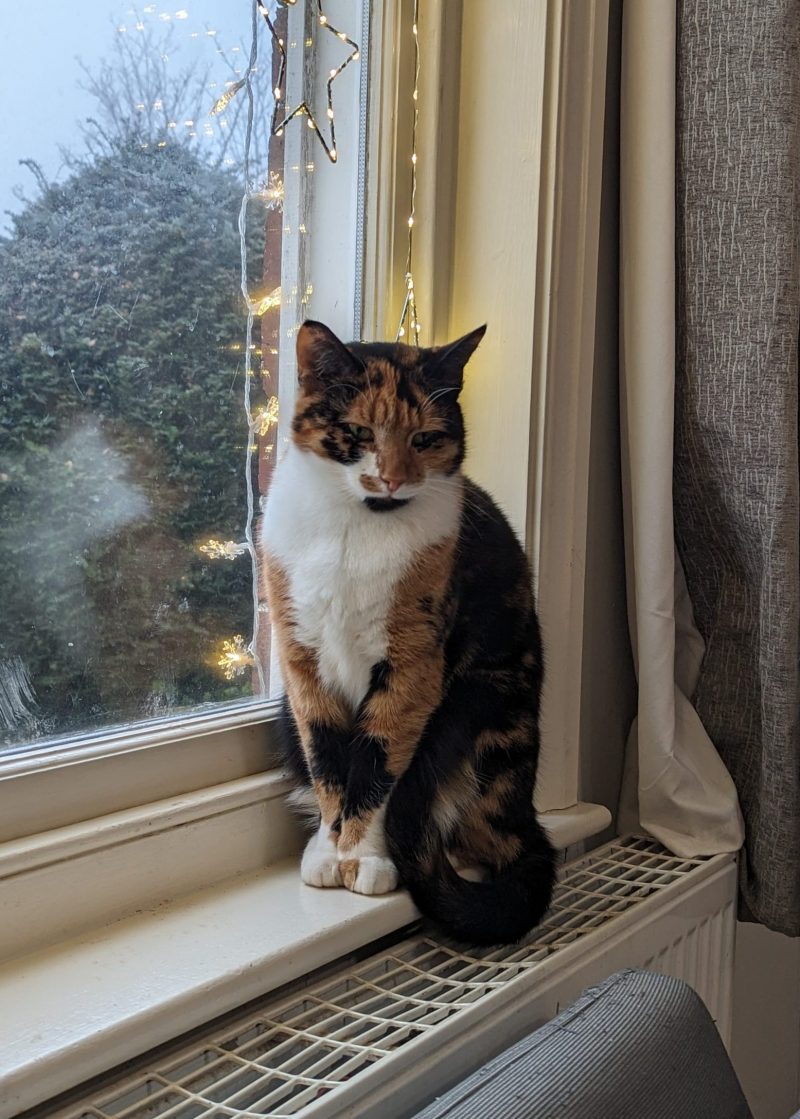
The cats approve – very important point this. Everything that enters our house is assessed by the cats, boxes, wildlife, heating. At a 35-50 degree temperature, the radiators are perfect cat sleeping conditions.
**If you are a new customer to Octopus you can sign up using our link and we both get £50!**
Please see all our posts in our Octopus Heat Pump series:
Actual Installation of Heat Pump
Octopus Tariff and Running Costs for the Heat Pump
Also, since having our heat pump installed, we also now have the Octopus EV Charger, and you can read our review about that here.


